Gather a few things See what you’ll need
- Journal
- Pen or pencil
- Optional: ruler
Check your longest day before drawing the boxes
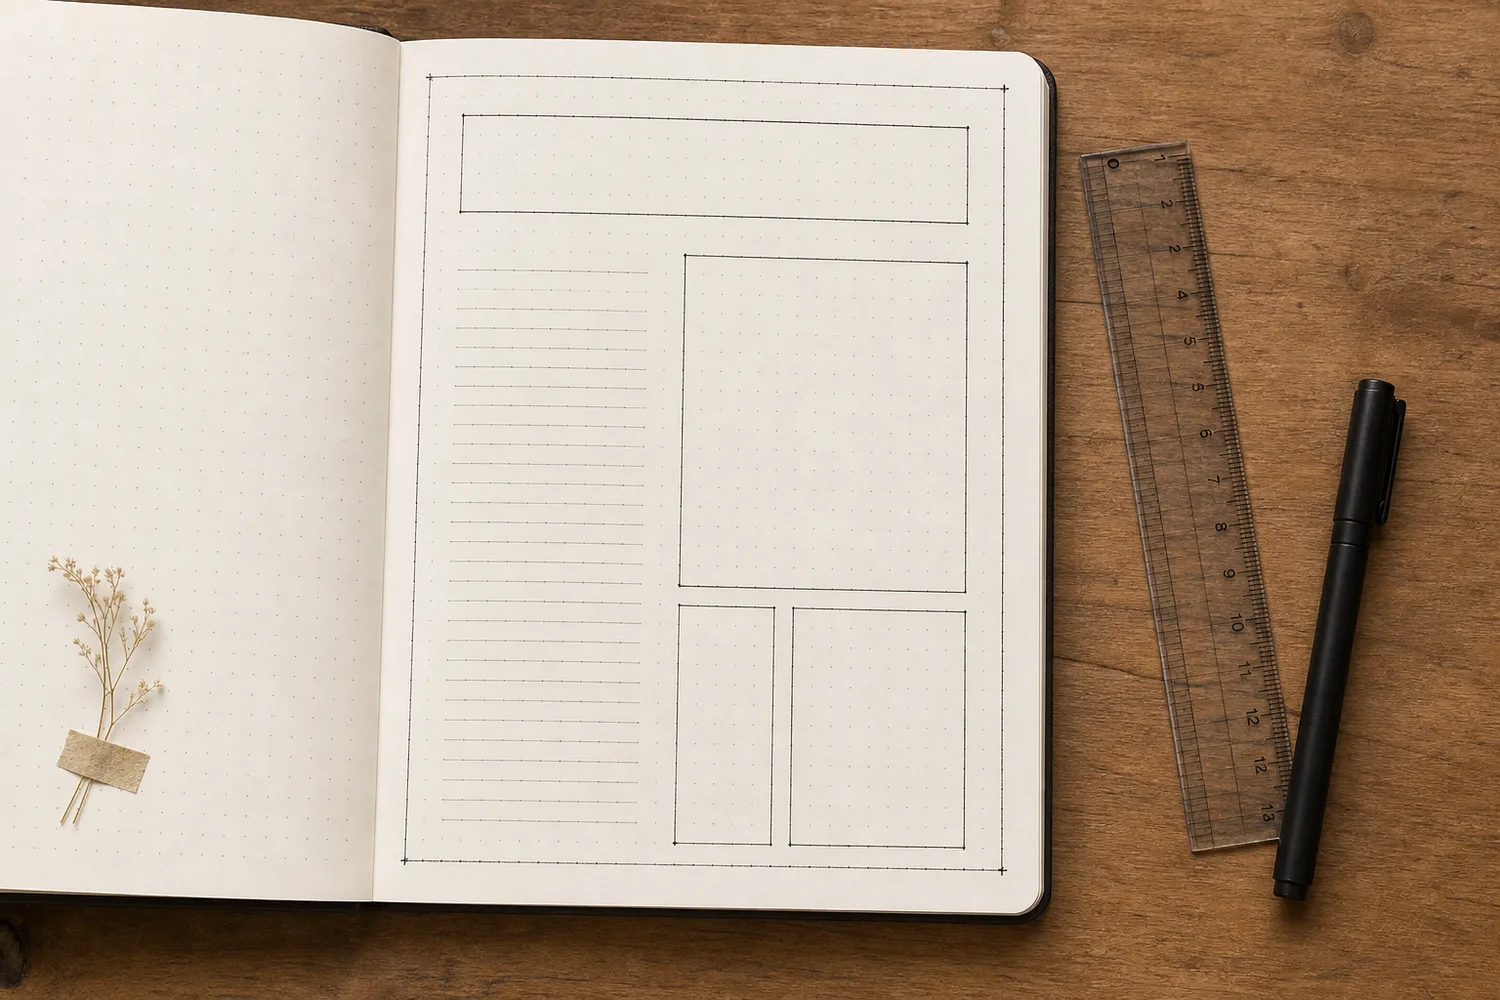
Look at your calendar and think about how much you usually write. Pencil in the date range near the top, then lightly write the longest appointment or note you expect to include. Does it fit comfortably in the width you had in mind?
If not, choose rows or open writing space instead of narrow columns. It's much easier to change a pencil guide now than to squeeze 'parent-teacher meeting' into a space meant for three tiny letters. Keep the page title small enough that the week gets most of the room.
Test the longest note before drawing narrow columns
Compare the same sample demand in a narrow column and a broad row.
Narrow column
This sample column has little room for a long appointment name. More height cannot make the words fit on one comfortable line.
For a little of everything, try seven rows
Divide one page into seven horizontal bands. Write the day at the left and your notes beside it. You don't even have to rule every band; seven day labels and a small gap between them may be enough.
On an A5 page, leave roughly three writing lines per day and a little room for a heading. Use each band for a plan, a memory, or both. This works especially well when your entries are short. If a day needs more space, put a small arrow beside it and continue on the next available page.
“The page is allowed to learn from your week.”
For a busy mind, give the notes their own page
Use the left page of a spread for seven day sections. Leave the right page mostly open, with a small 'This week' heading. Dated plans go on the left. Shopping reminders, questions, and undated tasks go on the right.
This keeps Tuesday from inheriting every thought you had on Tuesday. Leave the middle fold clear of small writing so you don't have to flatten the book to read it. Near the end of the week, move only the unfinished notes you still want; the rest can stay as a record of that week.
Give dated plans and undated thoughts different homes
Choose what you need to see during this week.
Keep a dated side and an open notes side.
Use one side for day sections and the other for undated tasks, questions, and reminders. A thought captured on Tuesday does not automatically belong to Tuesday’s appointments. Keep small writing away from the fold so you can check the week without flattening the book.
For memories, start with the things you'll keep
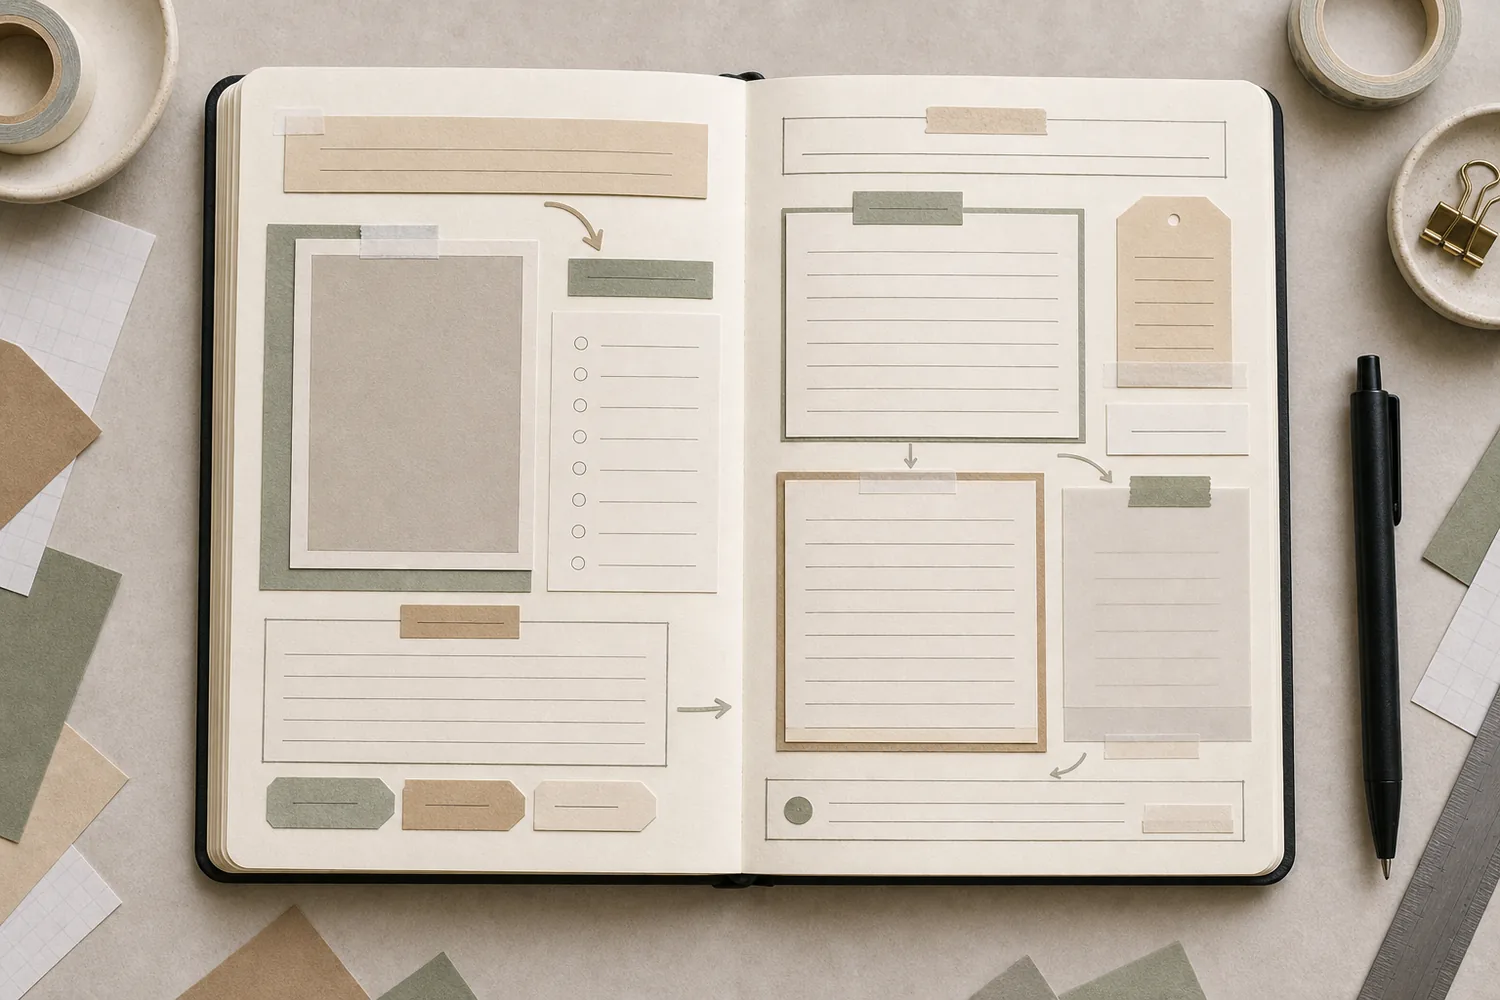
If your week will include photos or paper scraps, place them loosely before drawing boundaries. Make a larger space for a weekend trip or birthday, then arrange the quieter days around it. Unequal boxes are fine. A week doesn't happen in seven equal portions.
Leave room beside each item for a date and one sentence that the image can't tell you. 'We stayed until the chairs were being stacked' adds something different from 'Dinner out.' If you don't print photos, write that sentence inside a plain rectangle and add a tiny sketch or a color from the moment.
Give a weekly photo the sentence it is missing
Keep the date close to the object, then add the detail beyond the image.
Saturday, 5 September
The dinner photograph
We stayed until the chairs were being stacked.
Your words have a place now.
The filled card is a sample. Replace any part with your own words; leave a field empty if it does not help.
- Words on this card
- 14
For an unpredictable week, skip the boxes
Write the date range, then start with Monday. Add your notes underneath. Write the next day only when you reach it, leaving a blank line between days. One day might take two lines; another might need half a page.
Keep future appointments in a small list at the top or in the calendar you already use. This rolling layout is better for recording a week as it happens than seeing every appointment at once. If you miss a day, write the next date and continue. There's no empty box waiting to be filled.
Let one real week be the test
Write one actual entry before decorating. If the page already works, add a single color or small heading detail if you feel like it, then stop. You can leave spare space unassigned instead of turning it into another tracker.
At the end of the week, notice where you ran out of room and where you wrote nothing. Adjust those spaces next time. A cramped Wednesday needs more space, not smaller handwriting. An unused habits box might be a better home for a weekly memory. The page is allowed to learn from your week.
Move next week’s space toward the day that needed it
Switch from equal sample boxes to a larger weekend area.
Equal sample boxes
The equal boxes supply a consistent pattern, but the photo day has the same short writing allowance as a day with only one brief note.
Where this idea began
This guide grew from our original Instagram post. The examples and explanations here expand on that idea so you can try it at your own pace.