Gather a few things See what you’ll need
- A few small, mostly flat paper scraps
- One photo, note, or pocket to arrange around
- A pen
- Scissors and adhesive
Choose an exercise 4 things to try as you read
Put the working parts on the page first
Decide where the writing, photograph, or pocket belongs before choosing the little scraps. Move a capped pen over the page as though you were writing every line. Watch where the side of your hand travels; that area needs to stay clear, even if the pen tip technically fits between the decorations.
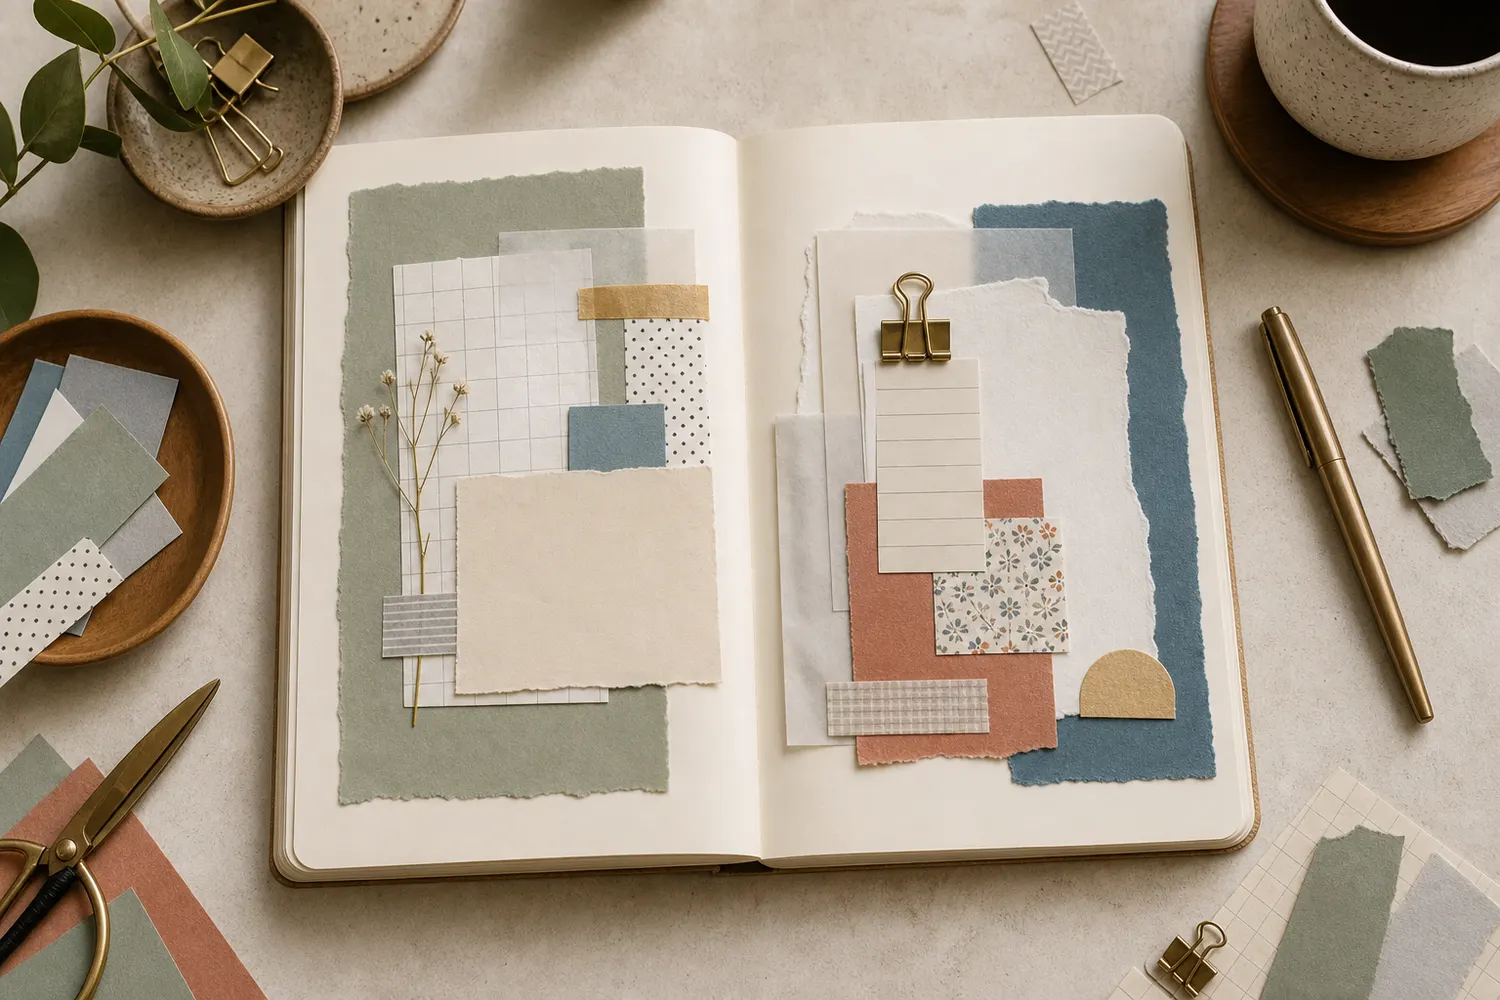
Start with a flat base, a narrow connecting strip, one noticeable detail, and a tiny finishing mark. Let the pieces overlap within one compact area. For a medium page, a palm-sized main group is already generous; a supporting group can be roughly half that size, with any final repeat smaller still. Use less for a small notebook.
ONE WORKED EXAMPLE
A cluster that catches the writing hand
You have a flat L-shaped cluster at a photo corner and a narrow caption beneath it. One curled scrap extends into the path of your hand as you finish the last line.
Before
The pen tip can reach the words, so the layout seems to fit, but the side of your hand keeps lifting the curled edge.
After
The curled scrap is replaced by a small drawn dash beside the label. The two flat corner strips stay close to the photograph, and the caption remains at its normal size with enough clear paper for the side of your hand.
What changed—and what to check
Testing the full writing motion accounts for the side of your hand, rather than judging fit only by the path of the pen tip.
Try this check. Move a capped pen through the complete caption and check whether any loose edge catches the side of your hand.
Something for a future page?
The Washi Tape ShopAffiliate links: we may earn a commission if you buy through these links.
GO A LITTLE FURTHERBeside the writing, keep it low and light
Beside the writing, keep it low and light
Try a thin base scrap, torn neutral strip, one small motif, and a tiny dot or tab near the outer margin. Let the strip connect toward the note while keeping the writing space open.
Leave about a finger’s width beside your actual hand path, then try the writing motion with a capped pen. If a curled corner or raised detail catches your hand, move it outward or replace it with a drawn mark. Your grip and page angle decide which side needs room.
See the differenceLeave room beside the lines for your hand
Leave room beside the lines for your hand
Switch from a projecting cluster to a flatter outer margin.
Read the words in this example
Cluster intrudes
- entry
Cluster intrudes
The loose cluster intrudes into the planned writing edge. The pen tip may reach a line even when the side of the hand catches the paper.
“Decide where the writing, photograph, or pocket belongs before choosing the little scraps.”
Let the photograph keep its important details
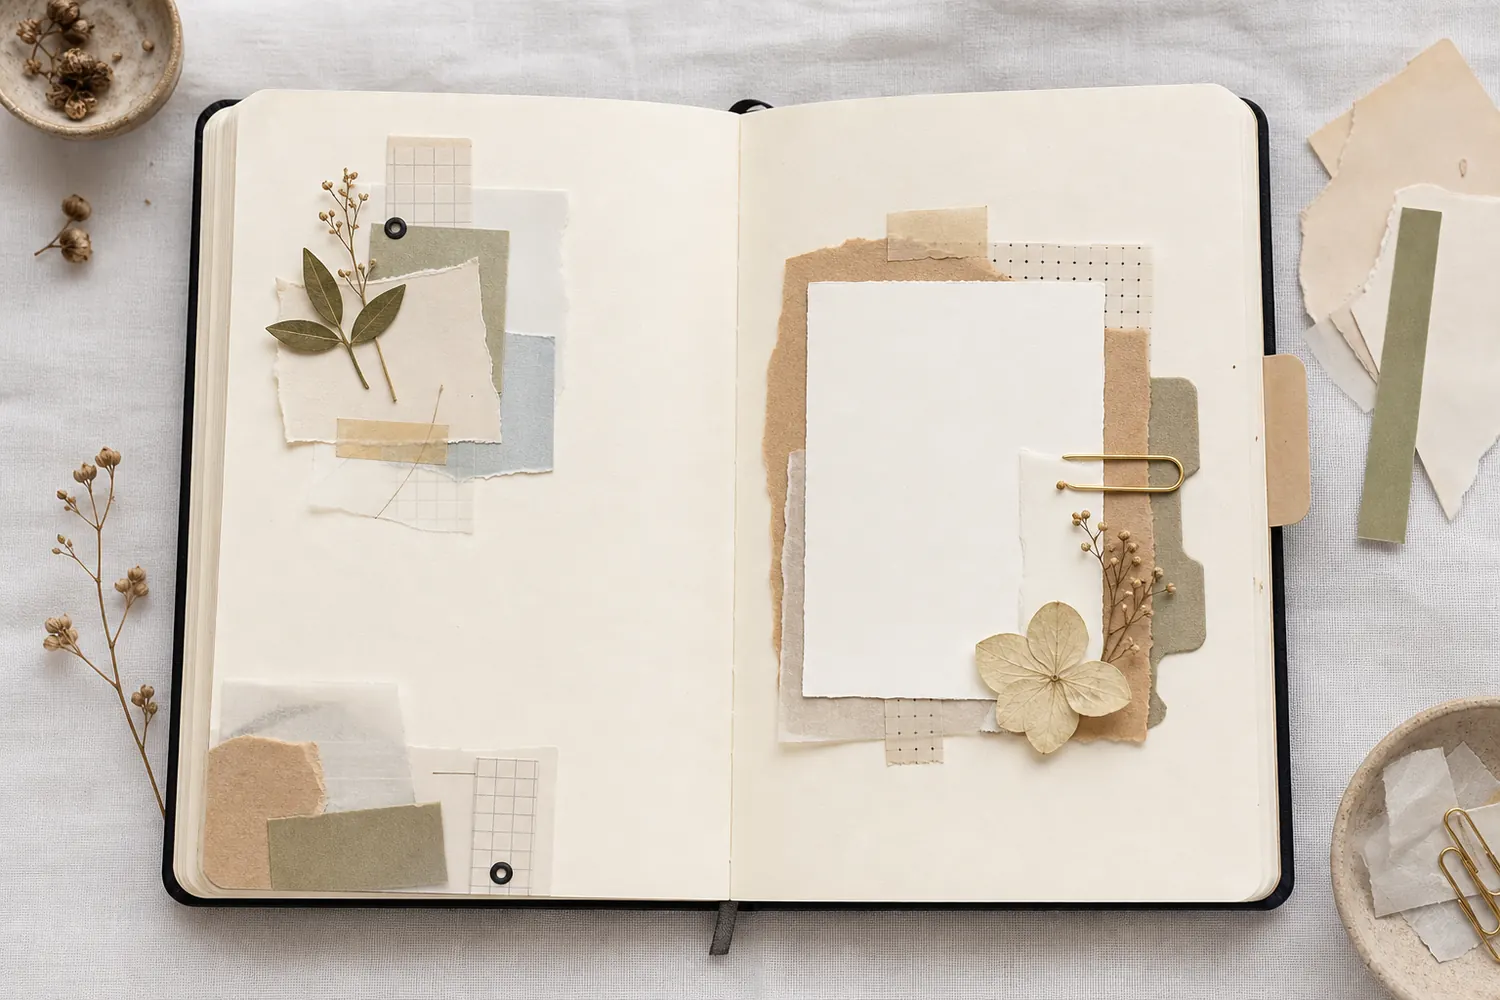
Make an L-shaped corner from two thin paper strips, or use a small paper corner you already have. Set it along one corner of the photo, then add a little label and a tiny repeated shape. Keep the group touching the photo area so it doesn’t float away from the image.
Check faces, hands, signs, dates, and the background detail that made you keep the photograph. Overlap a little empty sky or tabletop if you want layers. Use another print for a photograph you couldn’t replace. If the decorated corner attracts attention before the person in the picture, remove its darkest piece and look again.
Try a what-ifWhich change addresses that contact?
Which change addresses that contact?
The facing page is part of the cluster’s working space too.
An attached cluster is flat enough for writing, but a raised accent touches a photograph on the facing page when you close the book.
Compare the three choices
Which change addresses that contact?
- Move the accent to another spot over the same photograph
This changes its position but leaves a raised point pressing on a vulnerable facing surface.
- Replace the raised accent with a flat mark
A drawn or thin paper detail can keep the visual echo without creating the same pressure point.
- Add a matching raised accent opposite it
The pair may look balanced, but two facing raised points can increase the contact rather than remove it.
Test the facing page as well as the page you are decorating.
What would you try?
Choose an option to see what it would do. You can explore all three.
GO A LITTLE FURTHERMake the opening easier to find
Make the opening easier to find
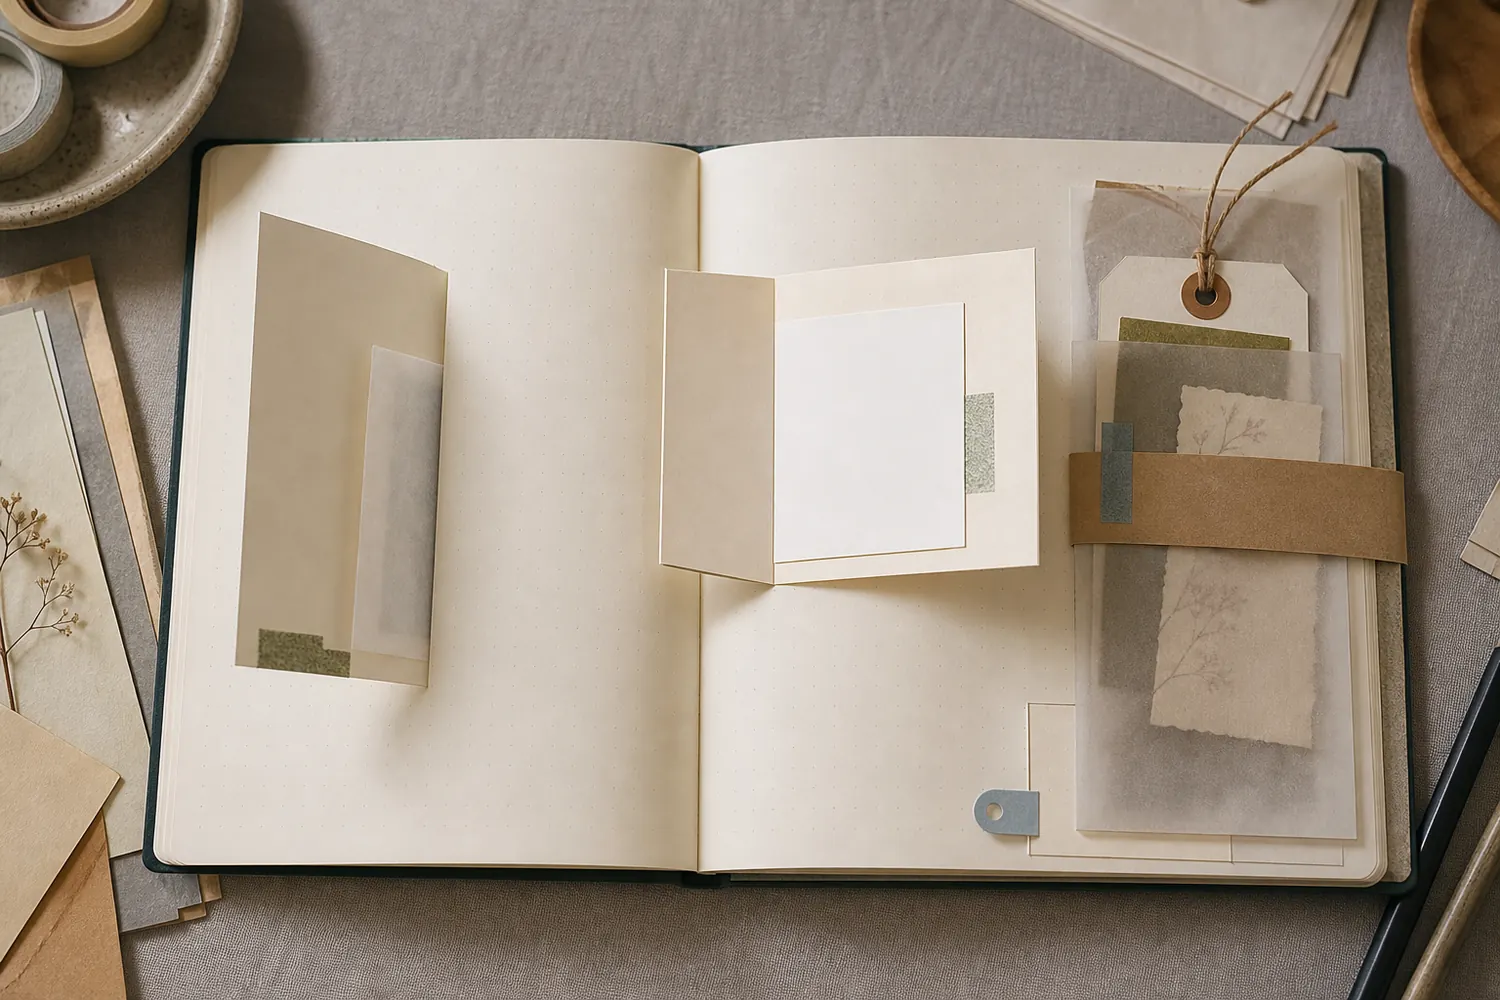
Start from the pocket’s edge itself. Add a small tab, a flat textured scrap, and one accent beside the opening. Keep them on the pocket face or a fixed edge, leaving the mouth and the insert’s route clear. The little group should suggest where to reach.
Slide the real note in and out before you glue the decoration. A strip laid across the mouth can quietly seal a working pocket, while a tab on the wrong part may invite someone to pull a glued seam. If you can’t tell what to lift or slide, remove a detail rather than adding several arrows.
Try the exampleKeep the decorated pocket open
Keep the decorated pocket open
Toggle the glued edges of this rectangular pocket front. Notice what happens when the top closes.
Read the words in this example
- Front attachment
- Insert
- Paper front
- Attached
- Free edge
Top-opening pocket: 3 attached edges.
Three edges are attached and the top edge is free. That free edge is the mouth for caption note. This diagram describes the attachment, not adhesive strength or a guarantee that an insert will fit. This models a rectangular pocket front on the journal page. Put decoration on the fixed face or sides, and keep the open mouth and insert route clear.
- Attachment
- Top-opening pocket
- Attached edges
- Left, Right, Bottom
- Open edges
- Top
Connect the spread with groups of different sizes
If one page feels detached from the other, keep the main cluster beside its photo or note and try a smaller related group across the spread. One tiny repeat can suggest a loose diagonal without filling the space between them.
Repeat a cream torn edge or blue tab rather than the entire cluster. Four pieces, then two, then one mark are starting amounts, not a recipe to complete. Remove the final mark if it starts needing its own companions.
GO A LITTLE FURTHERA quiet corner only needs a little company
A quiet corner only needs a little company
Place a small base scrap near a blank outer corner. Add one contrasting shape and two quieter echoes that touch or overlap the base. Keep the whole group smaller than your first instinct suggests; the page edges already give it a noticeable position.
It can balance a darker photo on the opposite page without becoming another large focal point. Try pale paper first. A tiny black, bright, glossy, or metallic detail can carry surprising weight in an otherwise empty corner. If it pulls you away from the memory, reduce it or choose a softer color.
Take one piece out before you call it done
Look for a scrap whose only job is hiding another awkward edge. Lift it while the arrangement is loose and see whether a small trim solves the original problem. Two aligned edges can organize a group more effectively than another layer.
Read the words, inspect the photograph, use any pocket, and close the book gently. Remove raised details that press into a facing photo. If the group works but still feels sparse, leave it for now; the closing test matters more than adding a final piece.
Try the exampleSee what each extra scrap adds to the stack
See what each extra scrap adds to the stack
Change the layer count, then compare a stack facing another stack with one facing clear paper.
Read the words in this example
- Position on facing pages
- 4
- Left page
- Right page
- Spine
- Nominal section
- Gold: left page
- No facing stack
- 0.8 mm added
4 layers add a nominal 0.8 mm at the outer edge.
4 × 0.2 mm = 0.8 mm for one stack.Changing the position moves the addition but does not change this arithmetic. A matching stack on the facing page would double the nominal addition at that position. The section adds only the selected paper layers at a fixed drawing scale of 10 pixels per millimeter; page stock, glue and fasteners are excluded. Real compression, binding and closure vary, so test the assembled journal without treating this total as a safe limit. The total is nominal paper thickness only. Raised finishes, adhesive, compression, and the binding change the real result; test the actual book.
- One stack
- 0.8 mm
- Added layers at this position
- 4
- Nominal combined addition
- 0.8 mm
- Position
- Outer edge
Where this idea began
These sources support the clustering, visual-weight, proximity, and writing-hand placement decisions used above.
Want to explore the techniques a little further? Here are the maker tutorials and references behind this guide.
- Construction referenceGet It Scrapped: 6 Ways to Make Scrapbook Embellishment Clusters
Six embellishment-cluster arrangements provide a practical clustering reference.
- Maker exampleNikki Kann: Four placements for embellishment clusters
Nikki Kann’s cluster placements provide a maker example of choosing where accents gather.
- Design principleGet It Scrapped: Scrapbook Layout Design
A broad scrapbook-layout reference; each guide’s exact arrangement is an editorial adaptation.
- Design principleSmashing Magazine: Visual Weight and Direction
Visual weight and direction inform which page elements attract attention.
- Design principleNielsen Norman Group: Gestalt Principle of Proximity
Proximity supplies the principle of grouping related content with smaller gaps.
- Design principleNielsen Norman Group: Common Region
Common-region grouping supplies a design analogy for elements sharing a bounded page area.
- Maker exampleMosaic Moments: No Photo Journal Scrapbook Layouts
Journal-first scrapbook layouts illustrate leaving room for words when no photograph leads the page.
- Handling guidanceUCLA Ergonomics: Handwriting for Healthy Hands
Handwriting ergonomics informs leaving space for the writing hand; no health outcome is claimed.