Gather a few things See what you’ll need
- A pen
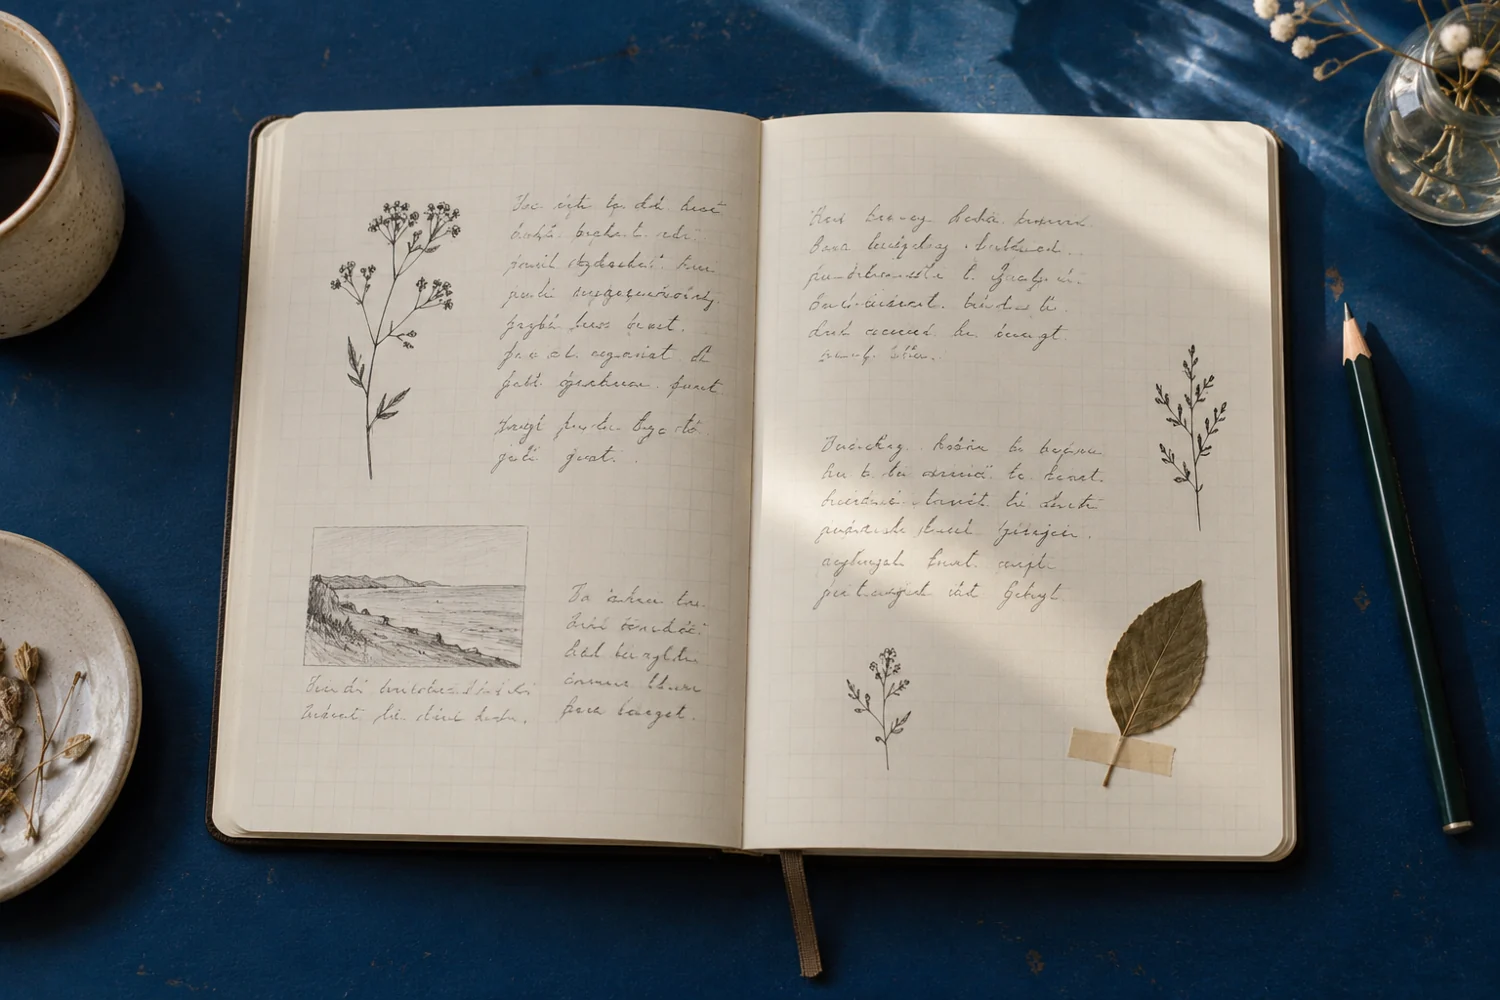
- A journal page with two sections of writing
- Scrap paper if you want to practice
Choose an exercise 3 things to try as you read
Look for the place where the subject changes
Read the last sentence above the gap and the first one below it. Have you changed subjects, or are you continuing the same thought? A divider belongs at the change: shopping notes above, an evening memory below. It can help the reader notice that shift without another heading.
That’s where the divider belongs. If you’re still writing the page, leave a blank line there and continue below it. If the page is already full, look for an existing gap instead of pushing a drawing into a sentence. Sometimes a short mark in the margin is all the available space allows.
ONE WORKED EXAMPLE
A pause after the shopping list
You have a narrow grocery list above a paragraph about dinner with a friend. There is one blank ruled line between them, but little space for a large drawing.
Before
A long ornamental rule touches the last grocery item and looks like an underline belonging to that item alone.
After
A short sprig and five separated dashes sit in the gap, clear of both blocks. The dinner paragraph begins at the usual writing margin, so the drawing marks a change without moving the words.
What changed—and what to check
Clear paper separates the mark from both sentences. Its modest width suits the narrow list and leaves the paragraph easy to enter.
Try this check. Cover the drawing, then uncover it; check whether the subject change becomes easier to locate.
Let the empty space help you
A divider pressed against the line above can look like an underline. Pressed against the line below, it can look like the beginning of a heading. Leave a little clear paper on both sides so the drawing reads as a pause between the two blocks.
You don’t need to stretch it across the full page. A short divider centered under a narrow paragraph can feel settled. Beside a small list, a shorter accent may be enough. Follow the writing you actually have, rather than drawing a long line simply because the notebook is wide.
Try a what-ifDoes this page need another divider?
Does this page need another divider?
Read the two neighboring lines before choosing a mark.
A list of three tasks continues below a blank line with two more tasks. You want readers to understand that all five belong together.
Compare the three choices
What best preserves that connection?
- Repeat the same small divider at every blank line.
Repeated dividers can make each gap look like a new subject, which works against keeping this list together.
- Continue the list without a divider at this gap.
The gap is a pause in writing, not a change of subject. Keeping the same list marks shows the connection.
- Draw a larger divider to make the gap deliberate.
A larger divider strengthens the separation. That would suit two different lists, but this is one continuing list.
Let a change in meaning earn a divider; an empty line alone need not earn one.
What would you try?
Choose an option to see what it would do. You can explore all three.
Pick a detail that belongs between these notes
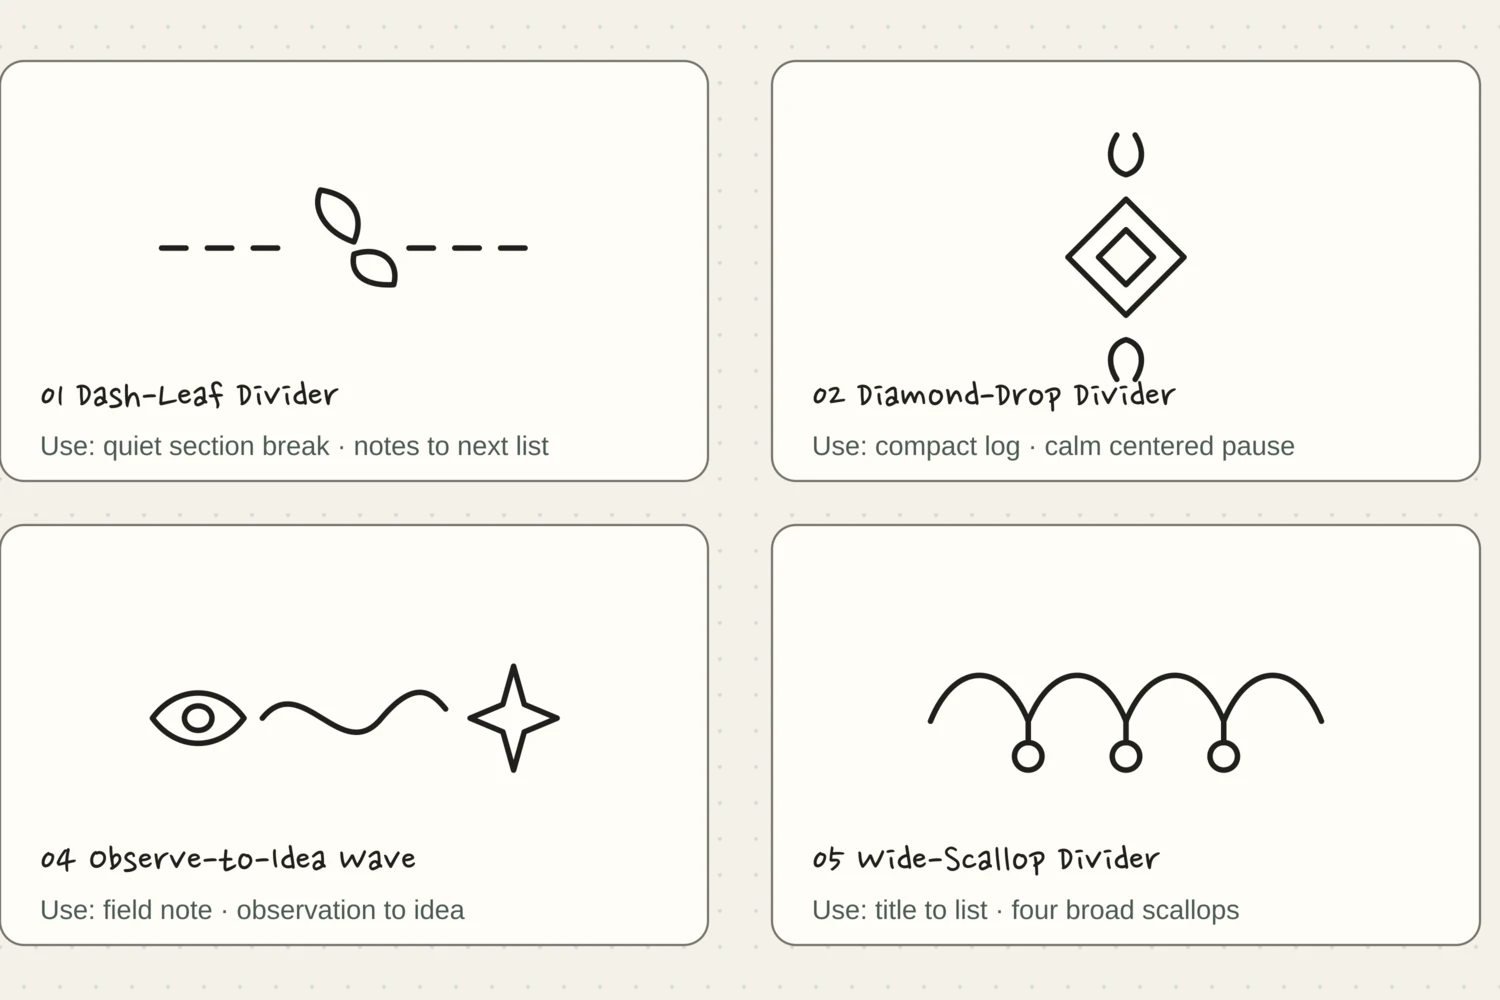
Look through the twelve examples below. An Open-Book Divider fits between a reading summary and your response. A Tiny-Bow Rule can sit between gift details and a thank-you note. The simple Dash-Leaf Divider works in plenty of places when you just want a gentle break.
Press Draw it to see the sequence, or move through the numbered steps at your own pace. Copy the drawing around 35–45 mm wide on scrap paper first. Notice where the straight lines stop and leave room for the central shape before putting it on your journal page.
Try the exampleHow much room does the motif need?
How much room does the motif need?
Compare the leaf, book, and bow dividers at different sizes. Keep their footprint separate from the writing before placing one in your actual blank gap.
Read the words in this example
- A drawing beside words
- Your words
- Separate drawing and writing areas
- Dashed box shows the drawing footprint.
The drawing footprint stays clear of the reserved writing area.
The longer side of “Dash-Leaf Divider” uses 36% of the inner page width; its proportions stay intact. The reserved area still contains four sample writing rules. The dashed footprint includes empty space around the strokes; it flags layout overlap, not an exact ink collision or handwritten capacity. This is a footprint comparison beside sample writing. On paper, place the divider in the gap between the two relevant blocks and leave room above and below it.
- Drawing, longer side
- 36%
- Drawing footprint width
- 36%
- Gap across inner page
- 5.3%
- Reserved sample rules
- 4
Leave a gap around the interesting part
If you’re using a leaf, book, or bow in the middle, avoid drawing a complete line underneath it first. The lines should stop before the little object, so its shape stays readable. It’s easier to plan that gap than to disguise a dark line through the middle later.
For scallops or pennants, mark the intended first and last shapes before filling the space between them. That prevents the final repeat from being squeezed against the edge. Faint pencil dots can help; the curves themselves can stay a little uneven.
GO A LITTLE FURTHERStop adding ink when it starts feeling heavy
Stop adding ink when it starts feeling heavy
If the center gets crowded, leave out the next interior detail. A book can read as a book without page lines. A bow doesn’t need shading. If one side line is a little longer, look at the whole paragraph before deciding it needs correcting.
On a finished page, you can often leave a heavier divider alone and use fewer decorative marks nearby. For the next one, make the central shape slightly roomier and keep its interior open. Repeated tracing tends to make a small drawing darker without making it much easier to recognize.
Compare the optionsWhich part needs less ink next time?
Which part needs less ink next time?
Choose the difficulty you see. The diagrams show where to reserve space on the next divider; existing pen lines can stay.
Read the words in this example
- motif
Reserve the middle before drawing the side rules.
On the next attempt, decide how wide the central motif needs to be and stop each side rule before that area. A continuous line underneath a leaf or book can confuse the outline. The finished heavy version can stay with fewer nearby accents.
See whether your eye knows where to go
Read from the heading down through the page. Do you feel the shift from one section to the next at the right place? Can you still move easily from the divider to the words below? Those are better questions than whether every leaf is symmetrical.
Cover the divider with a scrap and reread the join. If the change of subject is already easy to see, your next divider can be even shorter. Keep one version you enjoyed drawing on a practice scrap, ready for the next mixed page.
Pick a drawing and follow along
Choose a drawing below. Watch the whole shape appear, or tap a numbered step to see just that part. The faint outline is there if you’d like a little guidance.
Pick a drawing. We’ll take it one stroke at a time.
Dash-Leaf Divider
A small sprig starts an airy trail of hand-drawn dashes.
The finished drawing. Watch it once, then try one step at a time.
Let’s draw it together.
Give it a place.Separate a paragraph from a list without crowding either one.
If the line wandersLeave a leaf-width of space before the first dash.
Diamond-Drop Divider
A small diamond and hanging drop finish a long, delicate rule.
The finished drawing. Watch it once, then try one step at a time.
Let’s draw it together.
Give it a place.Set a quiet pause between two short journal entries.
If the line wandersKeep the drop separate from the diamond so each shape stays clear.
Open-Book Divider
A little open book begins a simple reading-note divider.
The finished drawing. Watch it once, then try one step at a time.
Let’s draw it together.
Give it a place.Separate your book summary from your own response.
If the line wandersGive each page a gentle curve and draw the center spine only once.
Observe-to-Idea Wave
An open eye sends a gentle wave toward a small idea spark.
The finished drawing. Watch it once, then try one step at a time.
Let’s draw it together.
Give it a place.Separate an observation from the idea it prompted.
If the line wandersKeep the wave shallow and stop well before the spark.
Wide-Scallop Divider
Four broad scallops and three small hanging beads make a light garland.
The finished drawing. Watch it once, then try one step at a time.
Let’s draw it together.
Give it a place.Place a festive pause below a heading or above a short list.
If the line wandersLet every curve dip by the same amount and leave air inside the beads.
Chevron-Gem Divider
A row of spaced chevrons leads into a small faceted gem.
The finished drawing. Watch it once, then try one step at a time.
Let’s draw it together.
Give it a place.Mark a milestone or the result of a project.
If the line wandersLeave the same breathing room between the chevrons and simplify the gem to two facets.
Button-Stitch Divider
A small sewing button begins a tidy line of loose stitches.
The finished drawing. Watch it once, then try one step at a time.
Let’s draw it together.
Give it a place.Use between mending notes, fabric ideas, or handmade project lists.
If the line wandersKeep the four holes tiny but open and let the stitches remain separate.
Three-Spark Divider
Three airy stars form a small constellation with plenty of space between them.
The finished drawing. Watch it once, then try one step at a time.
Let’s draw it together.
Give it a place.Use as a pause after three highlights or a list of good things.
If the line wandersKeep each star separate and let the middle one be only a little larger.
Leaf-Sprig Divider
An airy branch reaches across the page with six slender leaves.
The finished drawing. Watch it once, then try one step at a time.
Let’s draw it together.
Give it a place.Separate nature notes, seasonal reflections, or a quiet daily entry.
If the line wandersSpace the leaves along the branch and keep their tips pointed.
Tiny-Bow Rule
A fine rule ends in one small bow with two relaxed tails.
The finished drawing. Watch it once, then try one step at a time.
Let’s draw it together.
Give it a place.Separate a gift list, celebration memory, or handmade project note.
If the line wandersKeep the rule away from the bow loops and make the tails simple.
Three-Pennant Divider
Three broad pennants hang from a gently sagging string.
The finished drawing. Watch it once, then try one step at a time.
Let’s draw it together.
Give it a place.Use above a birthday note, a trip recap, or a little celebration.
If the line wandersGive the triangles equal width and stop their tips at a similar height.
Corner-Vine Turn
A slender vine rounds the lower left corner and leaves the writing space open.
The finished drawing. Watch it once, then try one step at a time.
Let’s draw it together.
Give it a place.Tuck it around the corner of a quote, reflection, or small sketch.
If the line wandersKeep the curve broad and place the leaves on the outside of the writing space.
Something for a future page?
The Washi Tape ShopAffiliate links: we may earn a commission if you buy through these links.
Where this idea began
The twelve divider and corner routes are original Tiny Systems Co. geometry. Archer & Olive’s collection of journal header ideas was used only as broad evidence that light decorative devices can help organize a page; none of its featured artwork was copied or presented as Tiny Systems Co. firsthand experience.
Want to explore the techniques a little further? Here are the maker tutorials and references behind this guide.
- Creative contextArcher & Olive: 20 Top Bullet Journal Header and Title Ideas
A credited header roundup supplies decorative context; the guide’s stroke routes and artwork are original.
- Website implementationW3C: Pause, Stop, Hide for moving content
W3C guidance informs animation pause controls, not the craft or writing method.
- Website implementationMDN: SVG stroke-dashoffset
SVG stroke-dashoffset documentation explains the on-page stroke animation, not a drawing method.