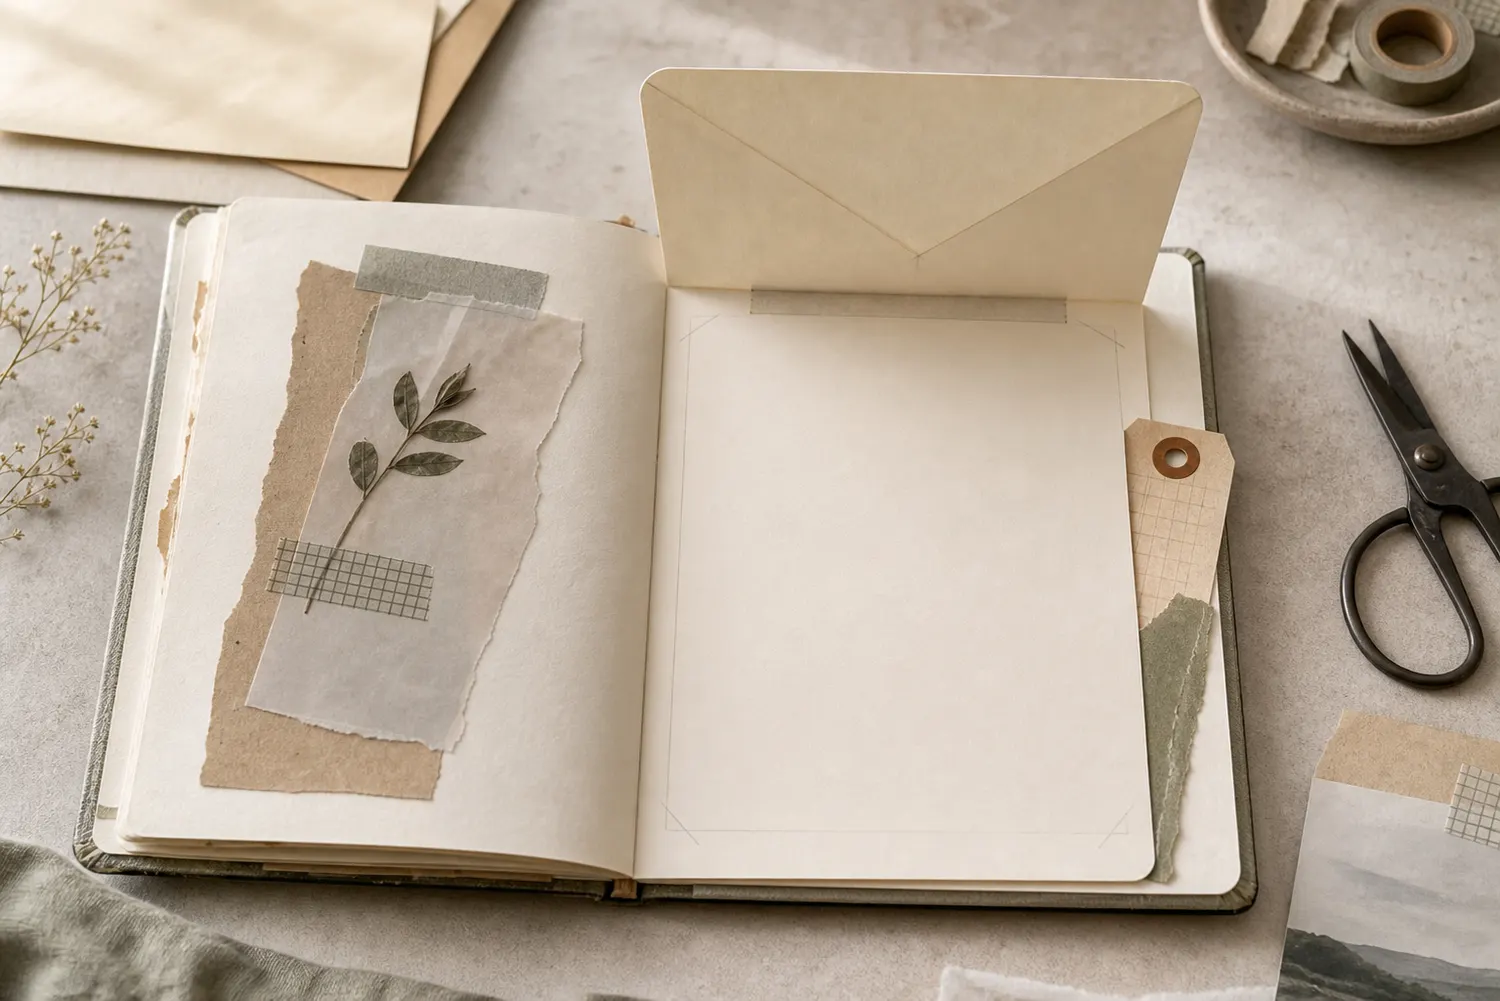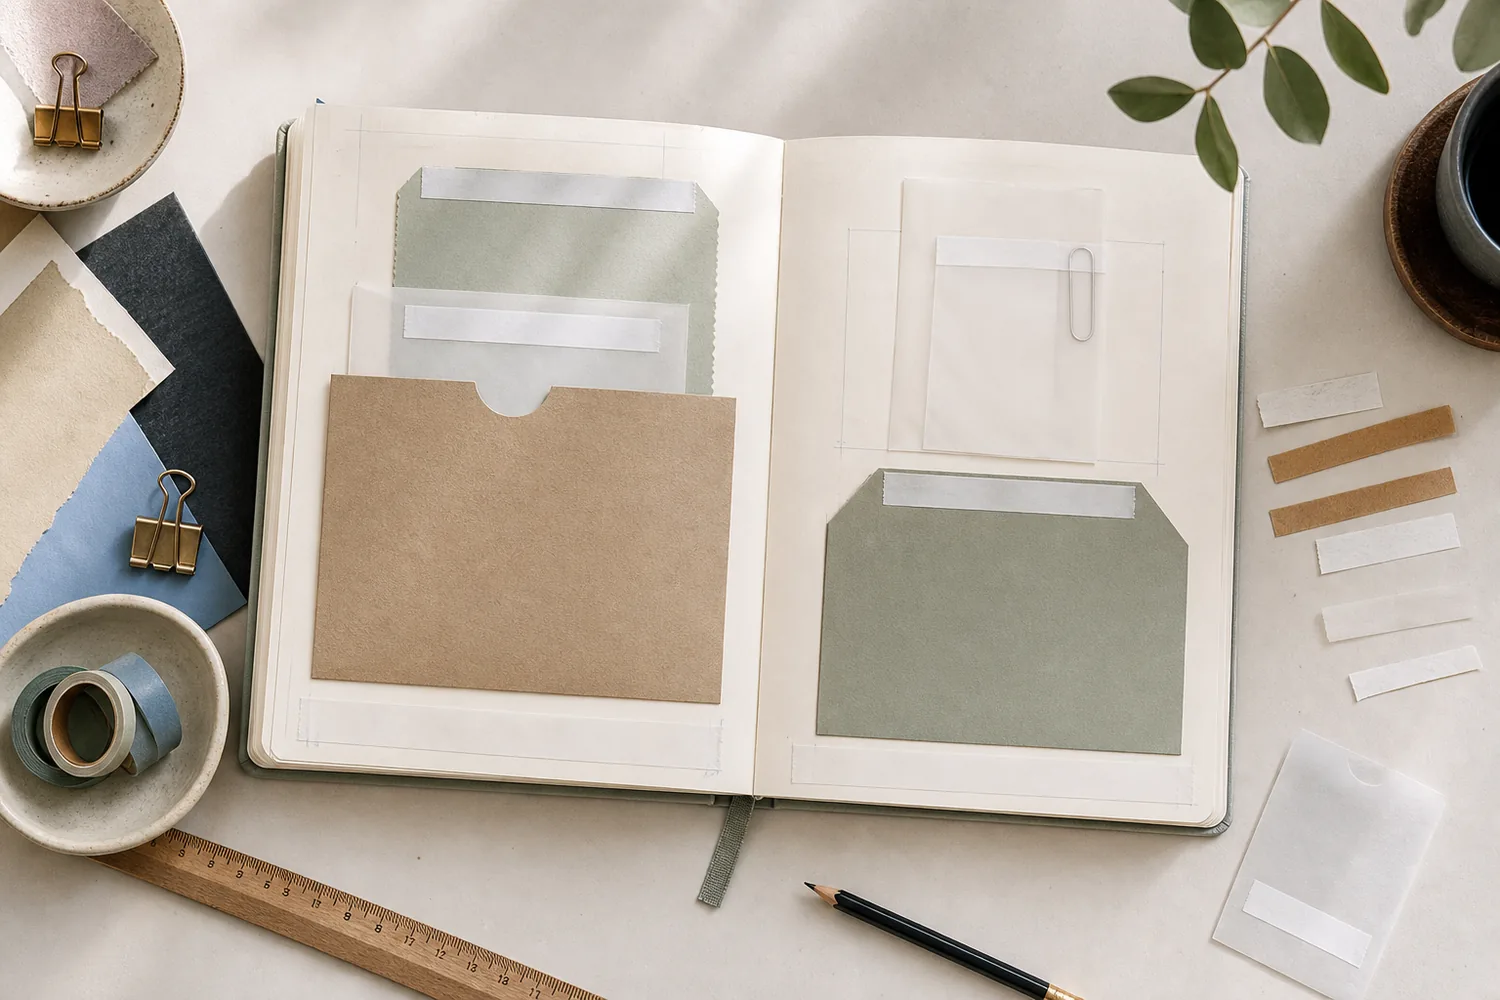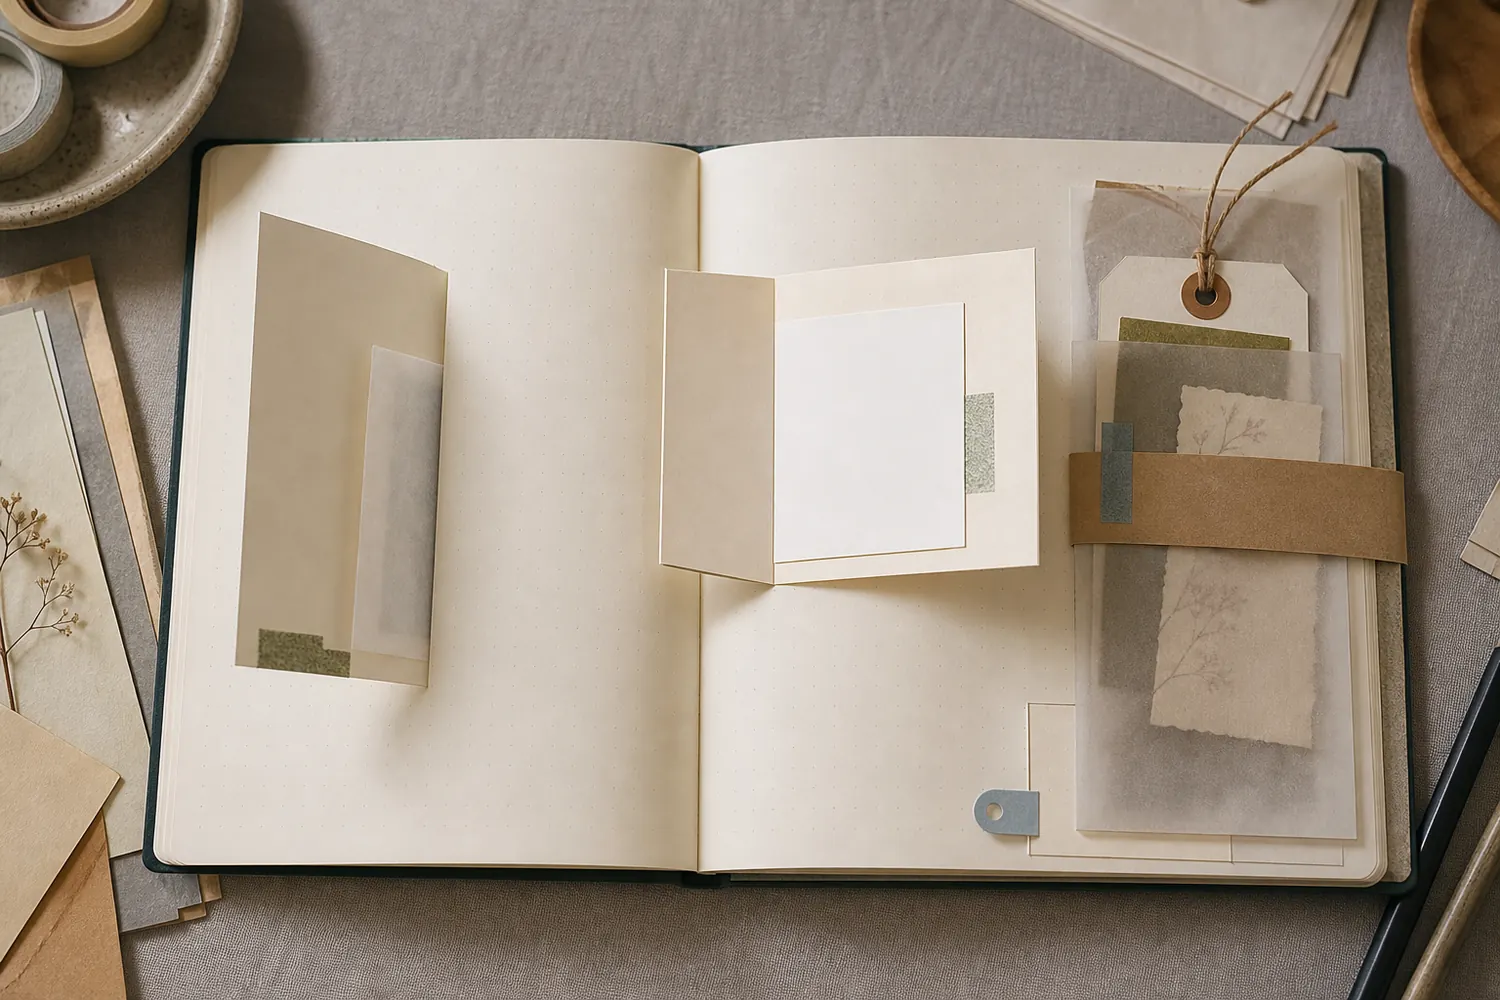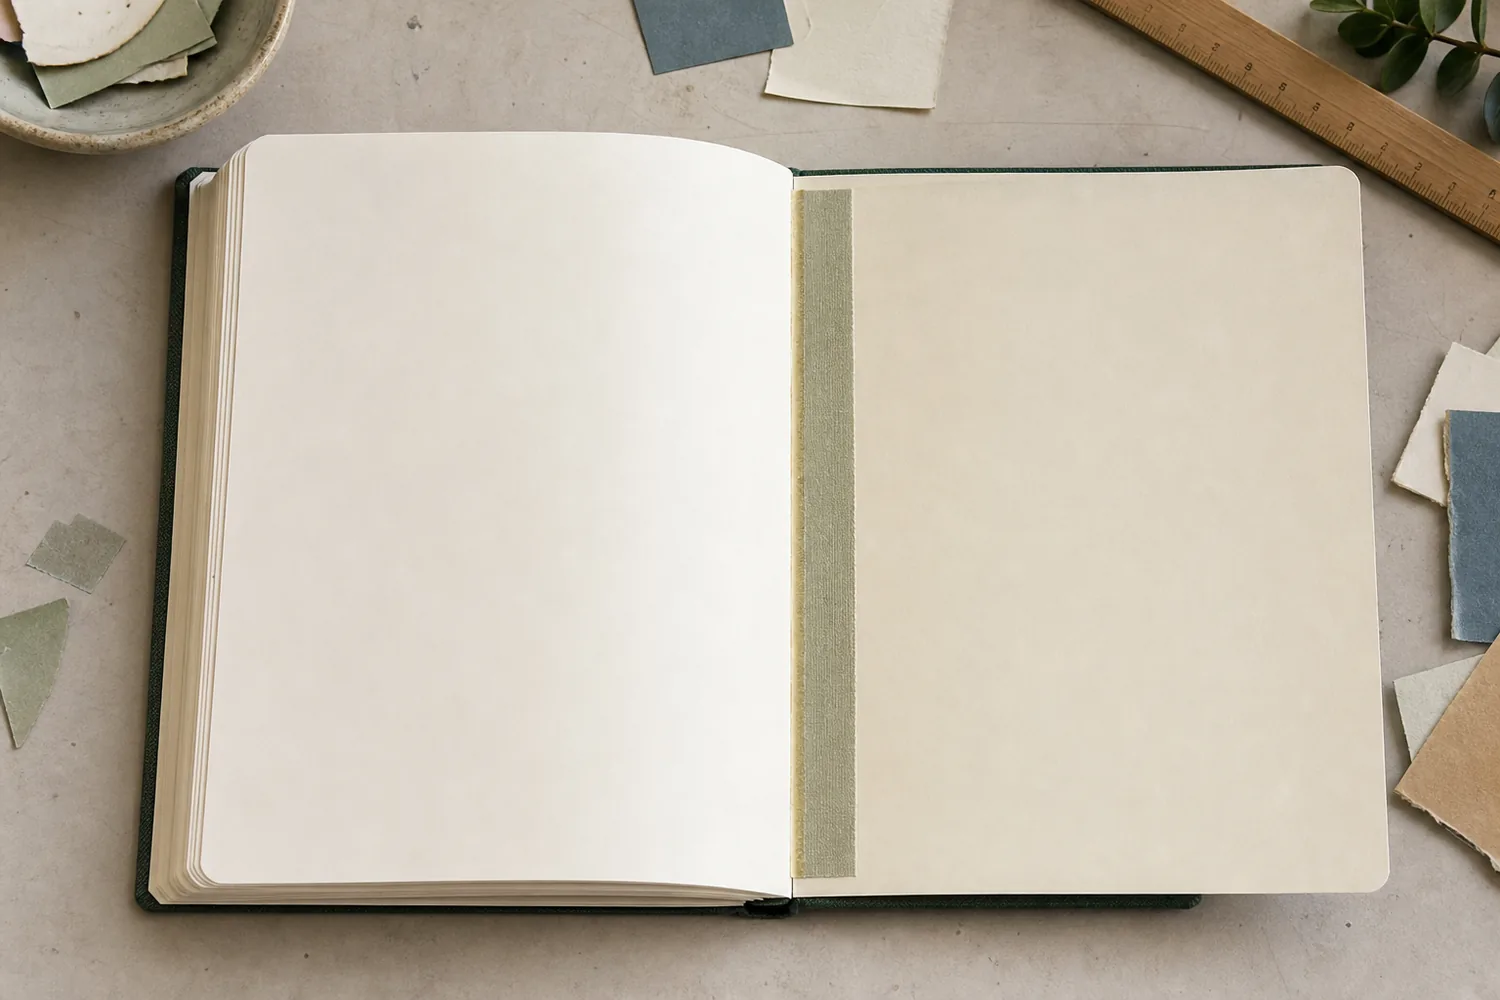
Gather a few things See what you’ll need
- Light paper panel about 60 × 100 mm
- Strong thin paper for a 12–15 mm hinge
- Narrow adhesive and release paper
- Pencil, ruler, scissors, and your writing pen
Choose an exercise 4 things to try as you read
Pick a page you can comfortably bend
Cut a light panel around 60 × 100 mm for your first try. Ordinary writing paper, thin stationery, or a light ledger scrap is easier to handle than thick card. Test your pen on an offcut, let it dry, and turn it over. If writing shows through heavily, plan to write on one side and put a small image or label on the other.
Hold the blank panel in the journal and close the cover gently. It should fit inside the page block, ideally 2–4 mm back from any outer edge it approaches. If you're adding a meaningful letter or old photograph, work with a copy rather than applying glue to the original.
ONE WORKED EXAMPLE
The thin leaf only needs one written side
You want an extra leaf for a note about a lakeside evening. Your thin stationery turns easily, but a pen test shows the reverse-side writing strongly through the paper.
Before
Planning full paragraphs on both sides would put two layers of visible handwriting behind each other, making the finished leaf difficult to read.
After
The 60 × 100 mm leaf carries the lake note on one side only: “We waited until the last bright line disappeared from the water.” Words remain 5–8 mm from the hinge crease. The other face stays clear, and the flexible hinge lets the written side turn into view.
What changed—and what to check
The offcut test changes how the two surfaces are used before the leaf is filled. A lighter panel can stay useful without requiring writing on both sides.
Try this check. Let the offcut dry and view both faces before deciding how much writing each side can comfortably hold.
Something for a future page?
The Washi Tape ShopAffiliate links: we may earn a commission if you buy through these links.
Make the hinge wide enough to handle easily
Cut a strip of strong, thin paper 12–15 mm wide and slightly shorter than the panel's height. Fold it lengthwise, giving you two attachment sides about 6–7.5 mm wide. If the paper has an obvious grain direction, run that direction along the fold so it bends more willingly.
Open the dry crease before gluing so you can feel which part will bend. Its two halves will hold the panel and page; the middle must remain flexible. This wider folded strip is an approachable journal method. Traditional narrow-edge tip-ins use a different join, so their adhesive width should not be substituted halfway through this construction.
Try the exampleLet a separate crease do the turning
Let a separate crease do the turning
Change the hinge edge and opening angle. The two attachment halves hold while the middle fold bends.
Read the words in this example
- Fold projection
- Your words
- Wine = fixed hinge
- Side profile
- 60° from closed
Left hinge stays fixed; the flap lifts 60° from closed.
Lifting the flap can reveal base page beneath its closed footprint. Gold is the moving flap and wine is its attached edge. The side profile shows the lift angle; the upper view is an oblique geometric projection. These are rigid-paper schematics, not predictions of bending, clearance, or collisions. Try the motion: extra writing leaf. The article’s 12–15 mm-wide strip folds into two attachment halves about 6–7.5 mm wide. This projection shows their hinge line only; glue belongs on the halves, not across the crease.
- Lift angle
- 60°
- Fixed hinge
- Left edge
- Model
- Oblique projection + side profile
“It should turn without pulling a wrinkle into the base page or scraping the binding.”
Let the book open naturally before choosing the spot
For a panel on a right-hand page that turns like a page, place the hinge along the panel's left edge. The free right edge lifts and turns left across the spread. Attach one half of the hinge to the back of that left edge, keeping adhesive off the crease.
Open the journal comfortably and find the deepest part of its center fold. Place the hinge crease 3–6 mm out from that valley, then bond the other hinge half to the base page. A tight or chunky journal may need the larger clearance. Mirror the arrangement for a panel on a left-hand page that turns right.
See the differenceLet the book’s curved gutter show you where to move
Let the book’s curved gutter show you where to move
Switch the same blank panel from the binding valley onto flatter paper.
Read the words in this example
Hinge in the valley
- leaf
Hinge in the valley
A hinge buried in the deepest curved area can pull the base page instead of letting the little leaf turn.
Turn it before writing your favorite sentence
Protect nearby surfaces with release paper if you're using wet adhesive, and let the bond dry. Then lift the panel with one fingertip. It should turn without pulling a wrinkle into the base page or scraping the binding. Let go and see whether it rests reasonably comfortably rather than springing shut immediately.
If it pulls, move the hinge farther from the center fold or use a smaller, lighter panel. If the crease is stiff, gently work it open and closed. Don't try to cure a tight join by stretching another strip of tape over it. That can make the fold even less willing to bend.
GO A LITTLE FURTHERLet the turn add something to the story
Let the turn add something to the story
Keep words and important image details 5–8 mm from the hinge crease. On the front, you might write the place and date. On the reverse, add what happened just outside the photograph: the long queue, the conversation, the reason you stayed. A short list on one side and a fuller paragraph on the other works well too.
When writing on the turned panel, slip a spare card beneath it for temporary support and remove the card afterward. The support helps your pen without becoming a permanent layer. Keep added decoration light, particularly near the hinge, and retest the turn if a small print changes how the panel hangs.
Write your versionUse the turn to move from context into story
Use the turn to move from context into story
Edit the front cue and the reverse detail. You can leave the underlying page quiet.
FrontHarbor walk, Sunday
ReverseThe queue was so long that we explored the lane behind the café.
Your words have a place now.
Keep important words 5–8 mm from the actual hinge crease. If the paper shows ink through heavily, use one writing side and a small image or label on the other.
- Words on this card
- 18
See how it behaves when the journal is closed
Close the tip-in, then close the journal without forcing it under a weight. Reopen it and check the outer panel edge and the base page near the hinge. If the edge bends, trim it farther inside the page block. If the journal wedges open at this spot, remove a layer or replace the panel with thinner paper.
Once the little leaf turns and the book closes comfortably, add the words that needed the extra room. Keep a short note of which paper and hinge width worked in this binding. For a note that must come out, use a pocket; for only a couple of covered lines, a top-opening flap may use less paper.
If the book still resists closing, check where raised pieces meet across the spread.
Try a what-ifWriting support becomes extra bulk
Writing support becomes extra bulk
Consider this page before choosing your next move.
A spare card makes the turned leaf easier to write on. You consider gluing that card underneath so the writing surface always feels firm.
Compare the three choices
What fits the light-page construction?
- Glue the support only beside the hinge.
That still adds permanent weight where the join must carry and turn the panel.
- Add a matching card to the other side.
Matching the layers would make a thicker panel and asks the hinge to carry more material.
- Keep the support temporary and remove it after writing.
It can steady the pen while needed without changing the leaf’s weight, flexibility, or closed thickness.
A useful writing support does not have to become part of the bound page.
What would you try?
Choose an option to see what it would do. You can explore all three.
Where this idea began
These sources informed the narrow bond, hinge handling, masking, and the scan-first limit for irreplaceable leaves.
Want to explore the techniques a little further? Here are the maker tutorials and references behind this guide.
- Construction referenceMisty McIntosh, Papercraftpanda: How to Make a Mini Coptic Binding Journal
A small journal construction example associated with the guide’s hinge and opening discussion.
- Construction referenceUniversity Products: Book Repair: Tipping-In Loose Pages
A loose-page tipping-in example informs narrow-edge attachment; this is not a guarantee for every binding.
- Material careNational Archives: Preservation of Archival Records
Archival preservation guidance informs the limit on improvised treatment of irreplaceable material.
- Construction referenceThe Book Arts Web: Three Basic Book Repair Procedures, Tipping-In Loose Pages
A book-repair tip-in example informs a narrow attachment area; valuable originals need separate care.
- Construction referenceTALAS: How to Hinge a Loose Page or Folio
A loose-page hinge example using named conservation materials; the guide’s simple practice hinge is an adaptation.