Gather a few things See what you’ll need
- Compatible water-based markers
- Nonporous washable palette
- Small brush
- Watercolor paper
- Clean water
- Cloth
Read the marker before mixing
Confirm that the marker uses water-based ink and that its instructions permit the technique. Alcohol markers follow a different process, and an unlabeled pen should remain outside this experiment. Choose a light yellow and a blue from the tools you already have. Set out a small brush, clean water, and a cloth. Keep the marker caps nearby and recap after placing color on the palette. The aim is a small prepared pool of color, not leaving several pens open while you discover whether their ink responds to water.
Mix before touching the page
Move from separate ink patches to a prepared transition.
Separate yellow and blue ink on a nonporous palette
Keep separate yellow and blue patches on the nonporous palette so unmixed color remains available.
Give the colors separate starting areas
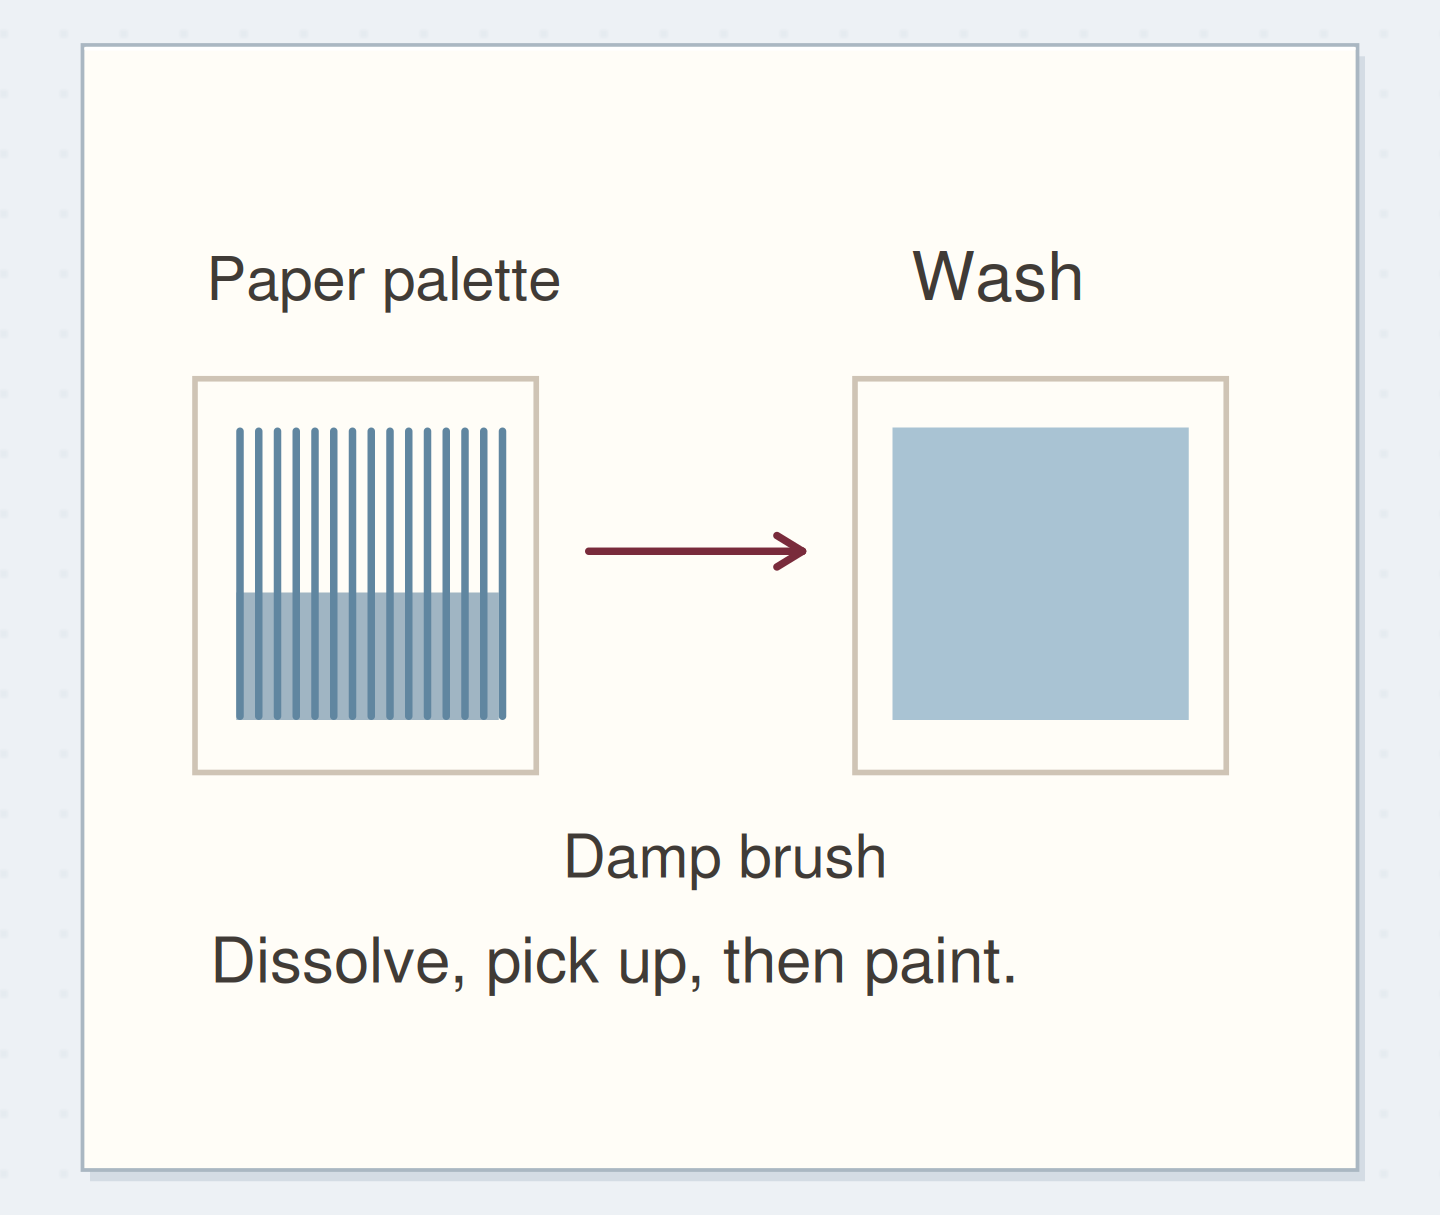
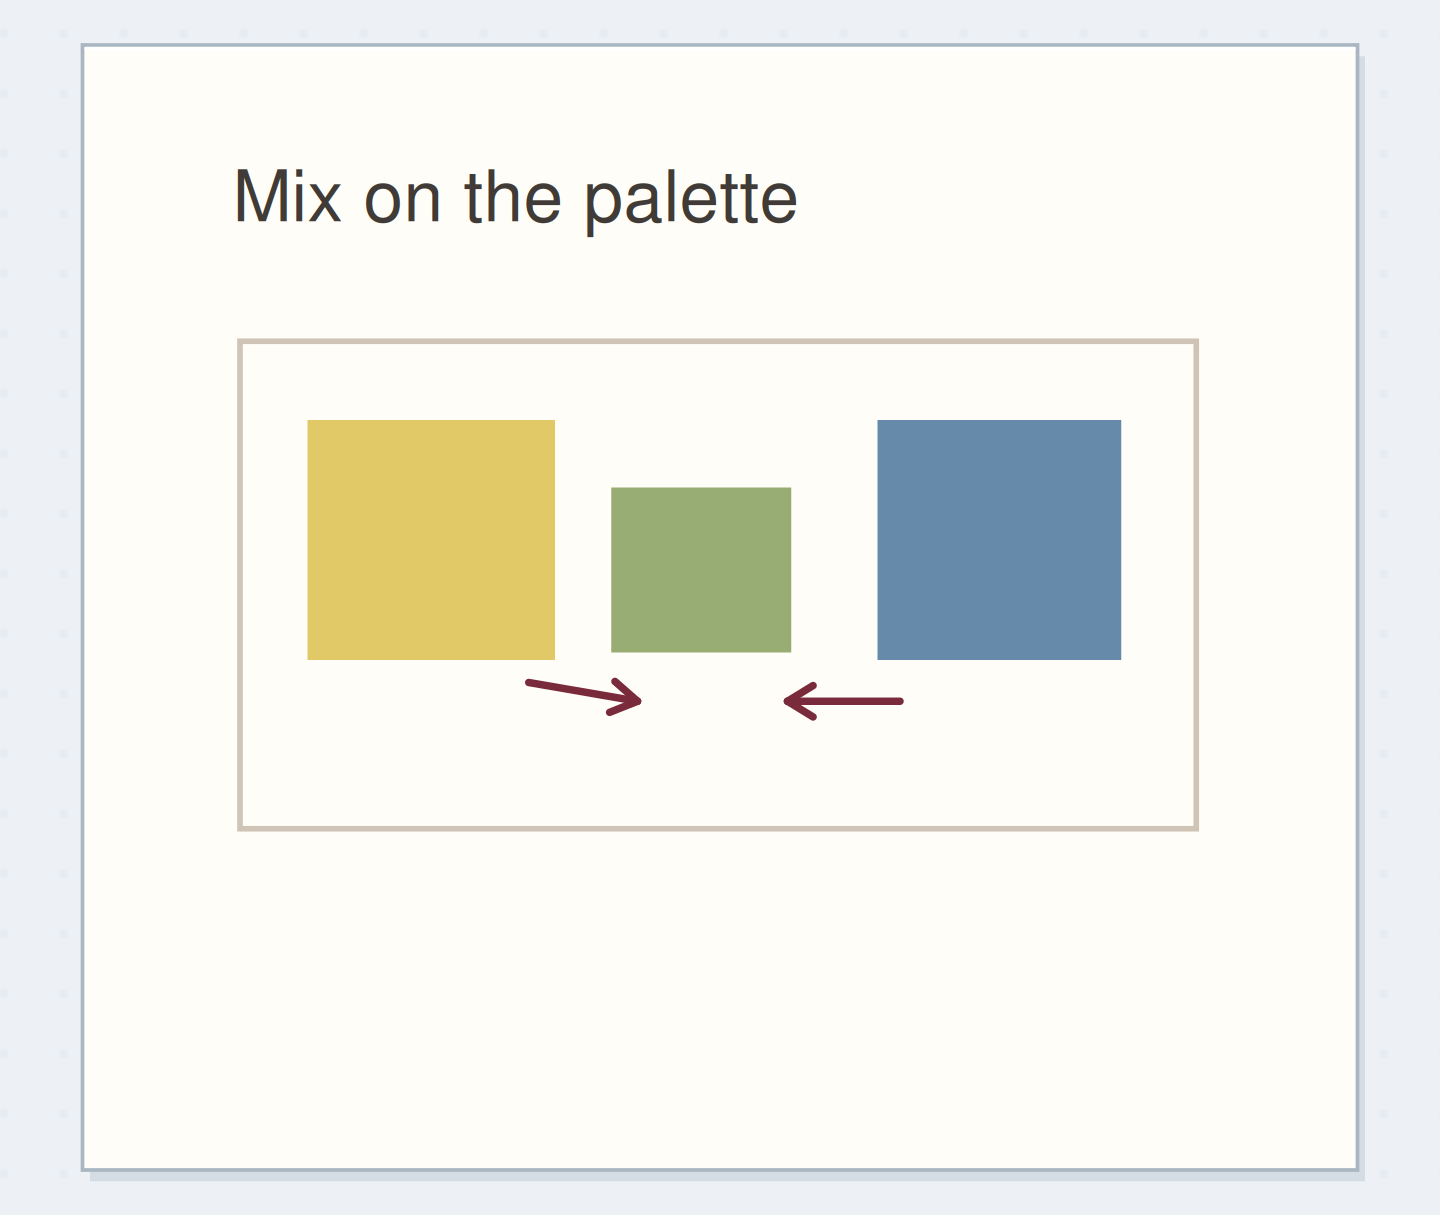
Place a short patch of yellow ink and a separate patch of blue on a clean nonporous palette, leaving space between them. Use the side of the flexible tip lightly if the maker recommends that approach; don't mash the point into the surface. Add a little water with the brush to one patch at a time. Tombow's mixing tutorial uses palette color and water to create mixtures before application. Keep some unmixed color available so you can adjust the blend without immediately adding more marker ink to the paper.
“Stop when the dry strip retains the transition you intended and its surface can accept your planned writing in a separate test.”
Make three mixtures you can compare
With a rinsed, blotted brush, bring a small amount of yellow into a clean mixing space. Add a much smaller pickup of blue and swatch it on watercolor paper. Then add another small pickup of blue to the remaining mixture and make a second swatch. Create a third, bluer version if the difference is visible. These are approximate brush-load recipes, not measured chemical ratios. Label them “more yellow,” “middle,” and “more blue.” Different inks have different strength, so equal-looking palette patches may not mix into an equal-looking balance.
Keep both ends visible
Move the reveal control to inspect this specific change.
Uniform overmixed strip
Repeated mixing removes the two-color transition.
Paint a two-tone heading strip
Pencil a strip 60 mm wide and 15 mm high on watercolor paper. Use your yellow-rich mixture at the left, rinse and blot the brush, then introduce the bluer mixture at the right while the first area is still workable. Let their edges meet once near the middle. Resist brushing back and forth until the whole strip becomes one color. The useful outcome is a visible transition with two distinct ends. After drying, compare it with the three swatches and note which mixtures produced each end.
Keep the journal out of an unsuitable wet test
Make the first strip on loose watercolor paper even if you hope to use the technique in a notebook. If you later test the notebook paper, protect the next page and use a small spare area. Watch for pilling, strong buckling, or ink reaching the reverse. Community coloring discussions mention streaks and paper damage when water-based markers are worked repeatedly. Those reports identify practical concerns and reasons to test first. The maker's instructions and your own sample should guide the specific pen-and-paper process.
Write your blend recipe
Approximate brush pickups are useful notes, not measured pigment ratios.
Marker pair:Compatible yellow and blue water-based markers
Mix direction:Yellow-rich left; bluer right
Your words have a place now.
Approximate brush pickups are useful notes, not measured pigment ratios.
- Words on this card
- 14
Recover a muddy or overworked blend
If the mixtures become duller than you wanted, rinse the palette and restart with two clean colors instead of adding more unrelated ink. If the strip becomes uniformly green, keep it as a flat wash sample and make a new strip with less brushing at the join. If the surface roughens, let it dry and stop working that patch. You can trim a clean area from a loose sheet for a smaller label. Avoid using the marker point to scrub a wet boundary into place; the brush and palette are doing that job here.
Before painting the blended strip
Order the preparation before the operation that needs its result.
One workable order
- Verify marker compatibilityThe palette process assumes the marker maker permits water-based blending.
- Make palette mixturesA mixture must exist before its paper swatch can be inspected.
- Swatch mixtures on suitable paperThe selected strip uses mixtures already tested on suitable paper.
- Paint the selected stripStop when the dry strip retains the transition you intended and its surface can accept your planned writing in a separate test.
Which check needs to come first?
The example shows one workable order. Approximate brush pickups are useful notes, not measured pigment ratios.
Label a blend you can repeat
Stop when the dry strip retains the transition you intended and its surface can accept your planned writing in a separate test. Record the two marker names and the direction of the mix, such as “yellow-rich left, bluer right.” Clean the palette and brush according to their ordinary instructions. Your reference needn't contain exact proportions to be useful; it should identify the starting materials and visible goal. On the next strip, change only the relative blue pickup or the amount of water so you can understand what caused the new result.
Where this idea began
Want to follow the idea further? These community discussions and maker references are a good place to start.
- Marker Mistake
The search excerpt discusses water-based marker paper damage and moving color to a plate or palette for brush use.
- How to Mix and Blend Colors with Tombow Dual Brush Pens
Demonstrates mixing compatible water-based marker ink with water on a palette before brush application.