Gather a few things See what you’ll need
- Water-soluble colored pencil
- Watercolor paper and matching scrap
- Small brush
- Clean water
- Cloth
- Test pen
Confirm which pencil you are testing
Read the pencil or packaging before adding water. Ordinary colored pencil and watercolor pencil are different materials; a familiar color name doesn't tell you whether the mark will dissolve. Choose one color and a small brush, clean water, and a cloth for removing excess water. Faber-Castell's primary tutorial demonstrates drawing first and activating afterward, as well as picking up color from a paper palette. This exercise compares those approaches with modest swatches instead of assuming they will produce identical surfaces with every pencil and paper.
Compare three pencil applications
Keep color and paper constant as the application changes.
The first patch retains pencil texture
The dry pencil strokes retain visible paper texture and have not received water.
Draw three equal test rectangles
Pencil three rectangles about 20 mm wide and 25 mm high, separated by at least 8 mm. Label them dry, activated, and palette below the working area. Shade the first two lightly using the same pencil direction and roughly the same number of passes. Leave a narrow strip uncolored at one end of the second rectangle to show how far pigment can be pulled. Make a denser separate patch on spare watercolor paper for the palette sample. Keep that patch away from the three comparison rectangles so accidental water doesn't change them.
“Stop when the panel is dry, the paper surface remains intact, and the lettering test reads clearly.”
Bring a damp brush to the second patch
Wet the brush, then touch it to the cloth so it isn't carrying a hanging drop. Start at the colored edge of the second rectangle and make one gentle pass into the reserved strip. Watch how much pencil texture softens and how the color thins as you move away. Rinse and blot the brush before another small pass if needed. Avoid repeatedly scrubbing the same area while it is wet. If the paper surface begins to pill, stop; more rubbing won't make that damaged texture into a smooth wash.
Watch the planned boundary
Move the reveal control to inspect this specific change.
Pooled outside edge
Excess liquid reaches outside the planned rectangle.
Paint the third sample from elsewhere
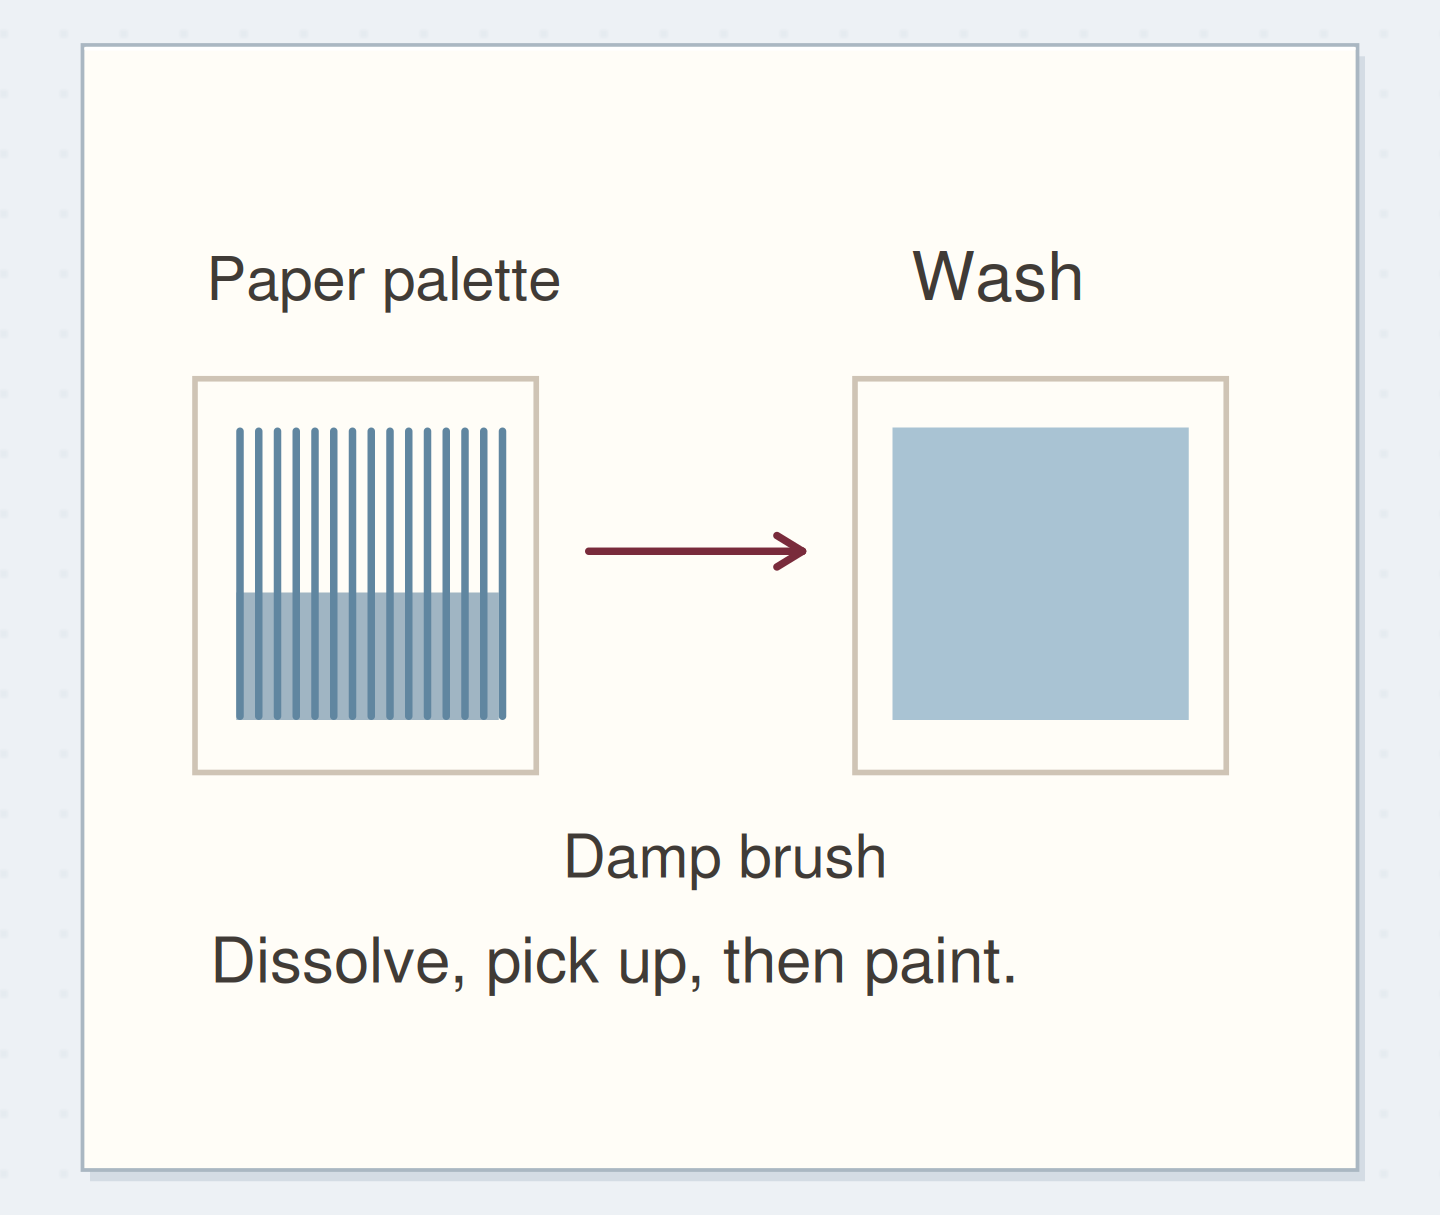
Dampen the dense patch on the separate scrap and pick up a little dissolved color with the brush. Paint the third rectangle without laying pencil there first. It may look smoother or lighter than the directly activated sample, depending on how much pigment you picked up. Faber-Castell describes this paper-palette method as a way to make washes. The original comparison here keeps the shape and color constant so you can notice application differences. Let all three samples dry before deciding which surface you prefer.
Make a small date panel
Choose the palette approach for a 45 mm by 25 mm panel on the same watercolor paper. Apply one pale wash and leave a clear margin. After it is fully dry, add “Saturday” with a pen tested separately on a matching dry wash. Don't assume a pen marked permanent will behave identically across wet color and paper. If you prefer pencil texture, use the directly activated approach instead and leave some dry marks visible. The finished panel can remain loose until you decide where it belongs in your journal.
Write your activation recipe
Wet-media behavior is specific to the material combination.
Pencil and paper:Water-soluble blue on watercolor paper
Chosen application:Paper-palette wash, then tested pen on dry color
Your words have a place now.
Wet-media behavior is specific to the material combination.
- Words on this card
- 18
Handle blooms and wandering edges simply
If water pools, lift the excess with the clean, blotted brush rather than dragging it across the whole panel. If color reaches beyond the intended rectangle, let it dry and trim the panel if its loose-paper format allows. A soft edge can also remain part of the design. Don't add a dark outline while the area is wet to disguise the spread. Community watercolor-pencil questions often concern water quantity and damaged ink drawings; a separate test and dry writing stage address those uncertainties without claiming every material combination is waterproof.
Before writing on the wash
Order the preparation before the operation that needs its result.
One workable order
- Test the pencil with waterThe water test identifies a workable application before the selected panel wash.
- Apply the chosen small washThe wet panel has to exist before it can dry.
- Allow the panel to dryTest writing on matching dry color rather than assuming wet layers accept the pen.
- Test writing on matching dry washStop when the panel is dry, the paper surface remains intact, and the lettering test reads clearly.
Which check needs to come first?
The example shows one workable order. Wet-media behavior is specific to the material combination.
Save the application, not only the color
Stop when the panel is dry, the paper surface remains intact, and the lettering test reads clearly. Write “draw then activate” or “paper-palette wash” beside the chosen swatch, along with the pencil identity. A color alone won't tell you how to reproduce its texture. Store the unused dry and activated comparisons together. Next time, change only the amount of dry pencil or the brush's water load, then compare again. You don't need a full painting to learn whether a small wash belongs beside your ordinary journal writing.
Where this idea began
Want to follow the idea further? These community discussions and maker references are a good place to start.
- Tips for watercolor pencils
The search excerpt asks about water amount, layering, and disturbing ink with watercolor pencils.
- Albrecht Durer Watercolor Pencil Tips and Techniques
Demonstrates drawing then activating with water and picking up dissolved color from a separate paper palette.