Gather a few things See what you’ll need
- A pen or pencil
- Your journal
- Optional: a scrap of paper, small print, or memo-pad edge
Choose an exercise 4 things to try as you read
Just enough room for three small things
Write the date near the top of the page. Beneath it, draw three short lines, each with a little dot beside it. Let each line hold one thing: something you did, something you noticed, or something you’d like to remember. ‘Bought peaches. Took the longer road home. The kitchen smelled like rain.’ That’s enough.
You can start this layout in a minute; filling it doesn’t need a deadline. If only one detail comes, keep one line. Tomorrow’s date can go below it. The unused lines aren’t a debt you’ll have to repay, and a large decorative heading can wait.
Write your versionKeep three fragments without joining them
Keep three fragments without joining them
Edit one sample at a time. Notice that the three lines can stay separate.
Bought peaches.
The paper bag was warm.
We took the longer road home.
Your words have a place now.
The filled card is a sample. Replace any part with your own words; leave a field empty if it does not help.
- Words on this card
- 13
ONE WORKED EXAMPLE
The receipt and the sentence belong together
A reader has a replaceable café receipt and remembers finding their usual window table free. They want a short journal entry, but arranging a whole decorated spread feels like too much.
Before
The receipt is near the top while the only open caption space is at the bottom, so the relationship between them is unclear.
After
They move the loose receipt down and write “The window table was still free when we arrived” beside it. After checking that the words fit, they attach the receipt. The pair forms one complete entry, with the remaining page available for another day.
What changed—and what to check
Starting from an object supplies a subject. Nearby writing adds the detail the printed receipt cannot carry without requiring a story about the whole day.
Try this check. Cover the rest of the page and check whether the saved piece and its sentence still make sense together.
GO A LITTLE FURTHERWhen the day happened in little stops
When the day happened in little stops
Use the time bar when order is what you want to remember. Draw it narrowly along the left edge, then add relevant times or broader labels such as morning, afternoon, and evening. A bus ride, the market, and dinner can be enough; you needn't account for every hour.
Keep room to the right for what the schedule alone misses: “The bus was late; I spent the wait in the sun.” Dots can mark ordinary events and stars can flag moments you want to find later. Use the time precision you actually remember.
Keep a few helpful words at the side
Draw a vertical line about a quarter of the page width from the left edge. Put cues such as “place,” “feeling,” and “kept” in the narrow column, with space for a couple of sentences opposite each.
This borrows the useful division of a Cornell note-taking page. Try it when a small question helps you begin. If “feeling” leaves you blank, change it to “noticed”; the prompts can follow the entry. A closing sentence at the bottom is optional.
GO A LITTLE FURTHERLet the fragments stay separate
Let the fragments stay separate
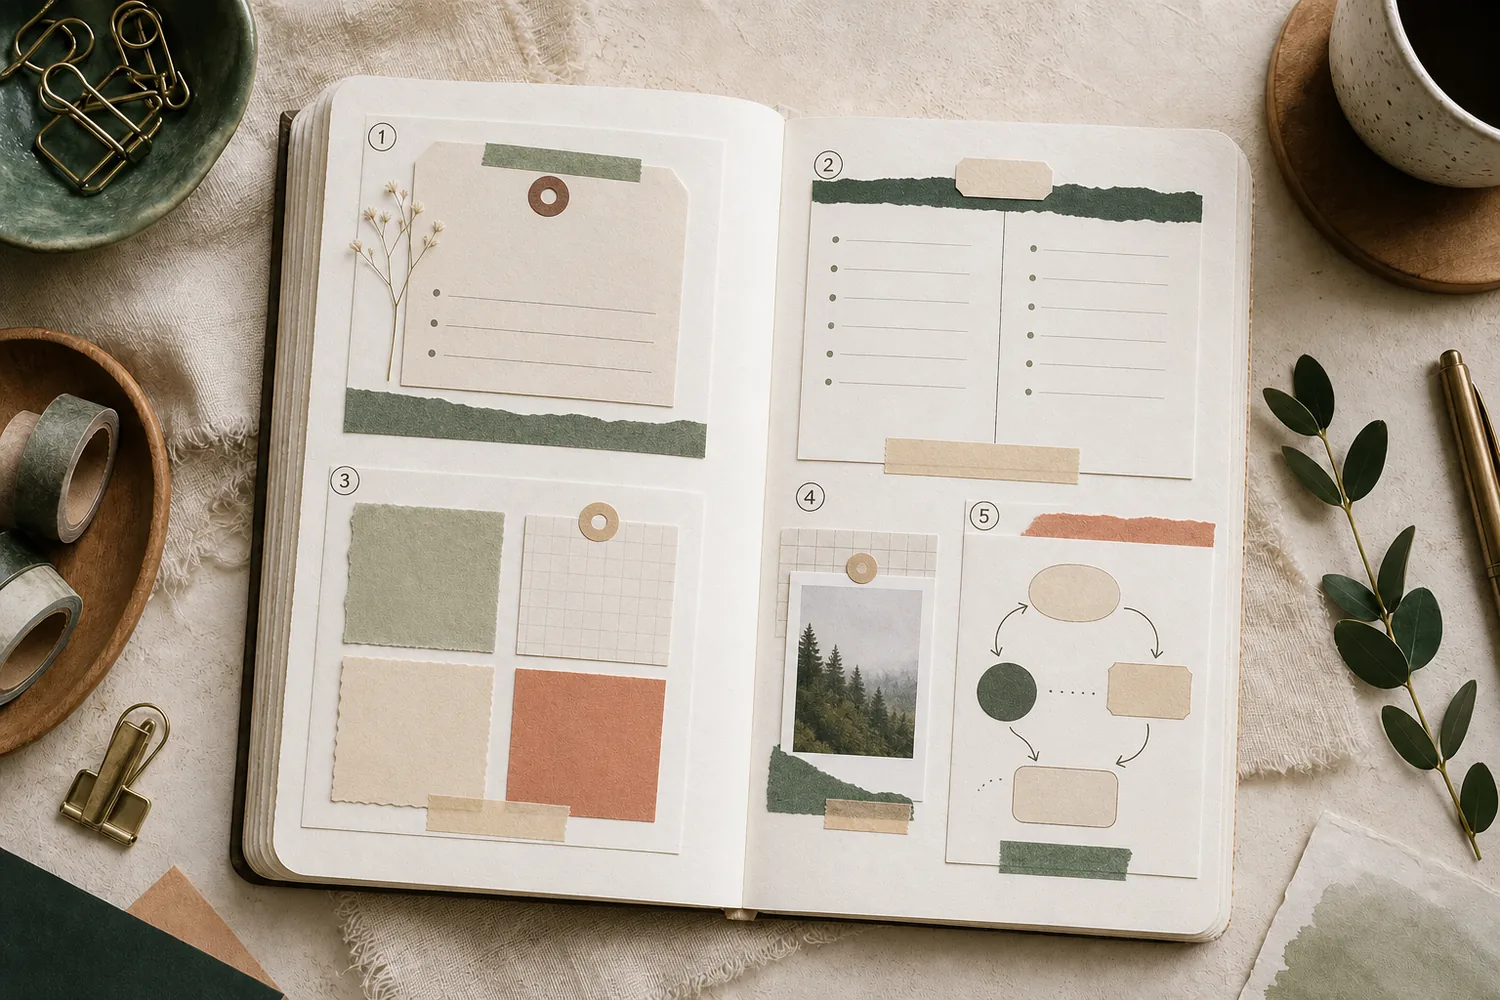
Draw four boxes with a little space between them. Make one larger if one memory deserves more room; the boxes don’t have to match. You could give them the labels ‘saw,’ ‘ate,’ ‘heard,’ and ‘keep,’ or leave the labels out and fill whichever box feels easiest.
A word, a sketch, a tiny scrap, and a sentence can sit together without becoming a polished story. Leave one box nearly empty if that suits the day. If a sentence outgrows its box, continue below it or let the writing cross the line. The boundary is there to help you start, not to edit your thoughts.
Compare the optionsGive different fragments different amounts of room
Give different fragments different amounts of room
Choose the material you remember. Watch how the page changes around it.
Read the words in this example
- saw
- heard
- ate
- kept
Separate boxes let unrelated details sit together.
Use four small boxes when each detail is brief. A word, tiny sketch, sound, or scrap can have its own place without needing a connecting paragraph. Leave an unused box alone rather than inventing another event.
Let one saved piece choose the beginning
If a saved piece brings the memory back, start with it. Place a photo print, memo, label, or replaceable scrap without glue, then move it until a caption fits close beside or below it. Object and caption should read as a pair at a glance.
Write what the object cannot show. A café slip may supply the date; “The table by the window was still free” adds your memory. No saved piece? Put the place name on plain scrap and start there. Attach only after the caption has a comfortable home.
Try a what-ifThe order is clear; the clock times aren’t
The order is clear; the clock times aren’t
Choose labels that fit the memory you have.
You remember a walk before lunch and a phone call afterward. A time-bar layout seems useful, but you did not note the exact times.
Compare the three choices
How can you keep the sequence without inventing precision?
- Assign likely clock times so every mark matches the layout.
The page would suggest exact information you do not have. A time bar can use broader labels just as easily.
- Label the events “before lunch” and “after lunch.”
Those labels keep the order you remember and make the uncertainty about clock time harmless. Add the details that actually stayed with you.
- Leave out both events until you can recover exact times.
Exact times are unnecessary for the purpose of this entry. The remembered order is already enough to use the layout.
Let a layout display the information you have, rather than demanding information you would have to invent.
What would you try?
Choose an option to see what it would do. You can explore all three.
GO A LITTLE FURTHERFor a day with a route or a detour
For a day with a route or a detour
Draw three small boxes in a loose path rather than a perfect row. Connect them with arrows in the order things happened. Put one short caption in each, beginning with a verb if it helps: ‘left late,’ ‘found the quiet street,’ ‘stopped for tea.’
A tiny clock, leaf, or cup can join each caption, but words and arrows work on their own. Make the most meaningful box a little larger or give its outline slightly more weight. Leave gaps between the boxes so the route stays easy to follow; the arrows shouldn’t have to wind through a page full of decoration.
Write your versionTurn a detour into three small actions
Turn a detour into three small actions
Change the three verbs and details. Read the card in the order the day happened.
First:Left the house late.
Then:Found a quieter street.
Finally:Stopped for tea beside the window.
Your words have a place now.
The filled card is a sample. Replace any part with your own words; leave a field empty if it does not help.
- Words on this card
- 17
Keep the structure at one edge
For an entry that needs mostly open space, keep the structure in a side strip no wider than about a fifth of the page. Use it for a date, weather, place, prompts, or tiny paper samples, leaving the broad area for writing or a larger photo.
Try one layout for the material you have today; the seven choices are alternatives. Repeat a helpful rail on another day, or remove a prompt and continue onto the next page if it cramps the writing. Finish when at least one real detail is comfortably readable.
Something for a future page?
The Washi Tape ShopAffiliate links: we may earn a commission if you buy through these links.
Where this idea began
These sources support the rapid-log, time-bar, cue-column, sketchnote, and traced-grid starters used above.
Want to explore the techniques a little further? Here are the maker tutorials and references behind this guide.
- Method referenceBullet Journal: What is Rapid Logging?
Official meanings for tasks, events, notes, status changes, and signifiers; decorative variants remain optional.
- Method referenceBullet Journal: How to Make a Daily Log
Official Daily Log guidance supplies the short daily-record structure.
- Method referenceBullet Journal: Daily Plan Bar
The Daily Plan Bar is a source for the time-bar layout starter.
- Method referenceCornell Learning Strategies Center: The Cornell Note Taking System
The Cornell note-taking system supplies the cue-column and main-note layout concept.
- Method referenceMike Rohde: What are Sketchnotes?
Mike Rohde’s sketchnote explanation supplies the broad combination of words and simple drawings.
- Design principleNielsen Norman Group: Visual Hierarchy in UX
Visual hierarchy supplies a background principle for clear focal content and supporting details.
- Maker exampleDonna L. Long: Nature Journal Page Layouts, with her traced practice sketches
Donna L. Long’s practice page layouts and traced sketches inform the traced-grid starter.