Gather a few things See what you’ll need
- Flexible paper about 9 × 5 cm
- Scissors
- A pen
- Optional: a ruler and blunt scoring tool
- One thin decorative scrap
- Optional: adhesive, a pocket, or a small clip
Choose an exercise 4 things to try as you read
Make the size and opening clear
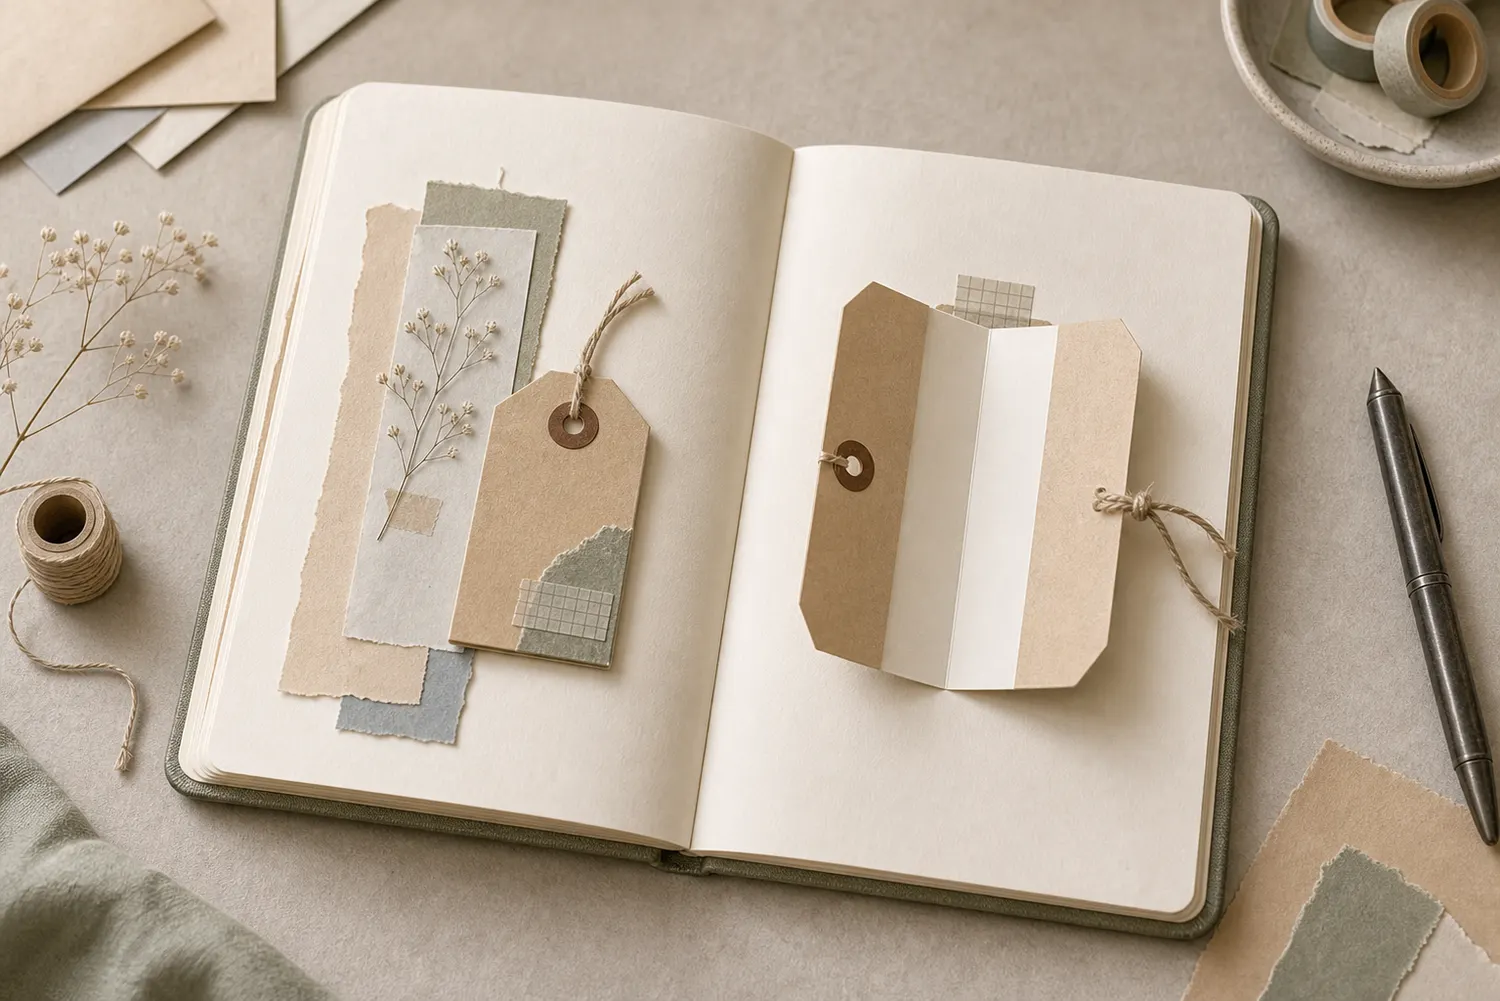
Cut a rectangle 9 cm wide and 5 cm tall. Fold it along a vertical line halfway across the width, bringing the left half over the right. The closed tag is about 4.5 cm wide and 5 cm tall. Place it with the fold on the left and the free opening edge on the right, like a small book.
A rectangle is fine. If you want a tag-like shape, clip small diagonals from the corners along the free edge after folding, staying clear of the crease. Those little cuts are decoration; don’t let them remove the comfortable place where a finger will open the cover.
Try the exampleGive the tag a book-like opening
Something for a future page?
The Washi Tape ShopAffiliate links: we may earn a commission if you buy through these links.
Let the paper fold without a fight
Flex a spare offcut in both directions before cutting your final tag. Paper often bends more willingly one way. Arrange the rectangle so the center crease follows that easier bend if you can. Fold lightly first, then check that the edges meet without twisting.
For stiff but flexible paper, try a gentle score with a blunt tool against a ruler. Stop if the offcut cracks or whitens: harder pressing cannot restore broken fibers. Choose a fresh flexible piece, open and close the plain fold a few times, and decorate only when it behaves like a small card.
Give the small sentence some breathing room
Open the tag and try the actual sentence at your normal handwriting size, clear of the fold. One inside panel may hold the place and a sensory detail; use both if needed. If the words only fit when squeezed into the crease, enlarge the next tag instead of making the important part difficult to read.
For a café page, the outside might simply say the café’s name while the inside keeps the part the receipt can’t tell you: which seat you chose, what someone said, or why you stayed longer. Write the real detail in your own words. Let the ink dry before folding so it doesn’t transfer to the facing panel.
If the paper is patterned on both sides, add a small thin plain writing piece inside. Check the closed thickness again. If you’re already trying to write between decorations, move one decoration to the front and let the inside belong to the note.
Write your versionGive the café name a sentence to open into
GO A LITTLE FURTHERKeep the front light enough to close
Keep the front light enough to close
One flat label, a narrow paper strip, a little stamped shape, or a small photo print is enough for the front. Keep thick layers away from the crease, and check that the tag still rests closed after attaching anything. A tiny visible free edge can be all the invitation it needs.
Add a closure only if the tag keeps springing open. A loose paper tab, a light tuck, or a gently wrapped thread can hold it without bending the paper. Keep a wrap near the free edge and easy to release. If the reader has to pry, untie a tight knot, or pull the journal page upward, loosen or remove the closure.
Try the exampleThe cover decoration joins the folded stack
Attach it, tuck it in, or let it travel
For a permanent note, attach only the tag’s outside back panel to the journal. Keep adhesive away from the fold and front cover, and leave a little room at the opening edge for your finger. The cover must still open independently after the back is fixed.
For a removable tag, tuck it into a pocket that has room for the folded thickness. The pocket may hold it closed without another closure. You can also clip it lightly, using a small folded scrap at the contact point to take the pressure. Let an edge peek out as a page tab only if the paper is strong enough for repeated handling; don’t use a fragile crease as a pull handle.
Try a what-ifThe removable tag jams in its pocket
GO A LITTLE FURTHERTry a different fold when the note needs it
Try a different fold when the note needs it
The side fold opens like a tiny book. For a top-fold tag, make the crease across the top and leave the bottom edge free to lift. A miniature folded label can hold one phrase, while a small photo on the front can lead to its caption inside. Keep each version light and choose the size from the writing it needs to hold.
If it will not close, remove the thickest added layer or loosen the closure before altering the fold. Remake cracked paper rather than repeatedly patching the moving crease. Keep the successful plain version as a size reference, noting the sentence length it comfortably holds; that is a useful starting point for the next tag.
Where this idea began
These sources support the folded-tag form, Mags Woodcock example, paper direction, and hidden-writing choices used above.
Want to explore the techniques a little further? Here are the maker tutorials and references behind this guide.
- Construction referencePoppiwinkle: Hidden Journaling Spots
Hidden journaling formats provide related lifting, folding, and concealed-writing examples.
- Maker exampleMags Woodcock: Trio of Journal Tags with hidden notepads
Mags Woodcock’s journal tags with hidden notepads provide the named folded-tag example.
- Construction referenceCreative ArtnSoul: Trifold Tags with Pockets
A trifold tag with pockets is a related folded insert and hidden-writing form.
- Construction referenceRebecca E. Parsons: Folded Peek-a-Boo Spots
Rebecca E. Parsons’s folded peek-a-boo form is a reference for concealed writing.
- Construction referenceMad Paper Crush: How to Add Tip-Ins to Your Journal
Journal tip-in methods inform one-edge attachment and leaving a paper flap free to move.
- Material behaviorSEF Inc.: Understanding Paper Grain
Paper-grain information informs how a fold bends and handles.
- Paper mechanism contextRobert C. Williams Museum of Papermaking: Movable Mechanisms
A museum overview explains movable-paper mechanisms; practice dimensions and clearances are editorial.
- Paper mechanism contextSmithsonian Libraries: Paper Engineering, Fold, Pull, Pop and Turn
A museum paper-engineering overview supplies fold, pull, and turning vocabulary; guide dimensions are adaptations.