Gather a few things See what you’ll need
- Numbered notebook or pencil for numbering
- Pen
- Bookmark
Link a continuing subject, not every mention
Use a thread when a page genuinely continues an earlier body of notes: the next planning session for the same display, the next stage of a recipe test, or the rest of a long reference list. A passing mention of the project inside a daily paragraph does not automatically need to become another link in the main chain.
For that passing mention, a simple reference to the main project page may be enough. This distinction keeps the trail readable. Readers in a notebook discussion describe topics of unpredictable length; threading responds by allowing the collection to grow wherever the next free space happens to be.
Follow the connection between pages
Which version of the display trail do you want to inspect?
The project can continue across unrelated pages.
Each address is a real part of the same example collection.
Give the pages stable addresses
If your notebook has no printed page numbers, number the pages you have used and continue as you write. Put the number where you can read it without opening the binding flat by force. An outer lower corner is a convenient example, but consistency matters more than the exact position.
Do not renumber old pages when you change your mind about a section. The references depend on stable addresses. If you accidentally skip a number, leave the gap. If two pages have the same number, add a clear suffix to one, such as 18a, and use that complete address in future links.
“You are finished when the next part and the previous part can both be found.”
Write the destination before the departure
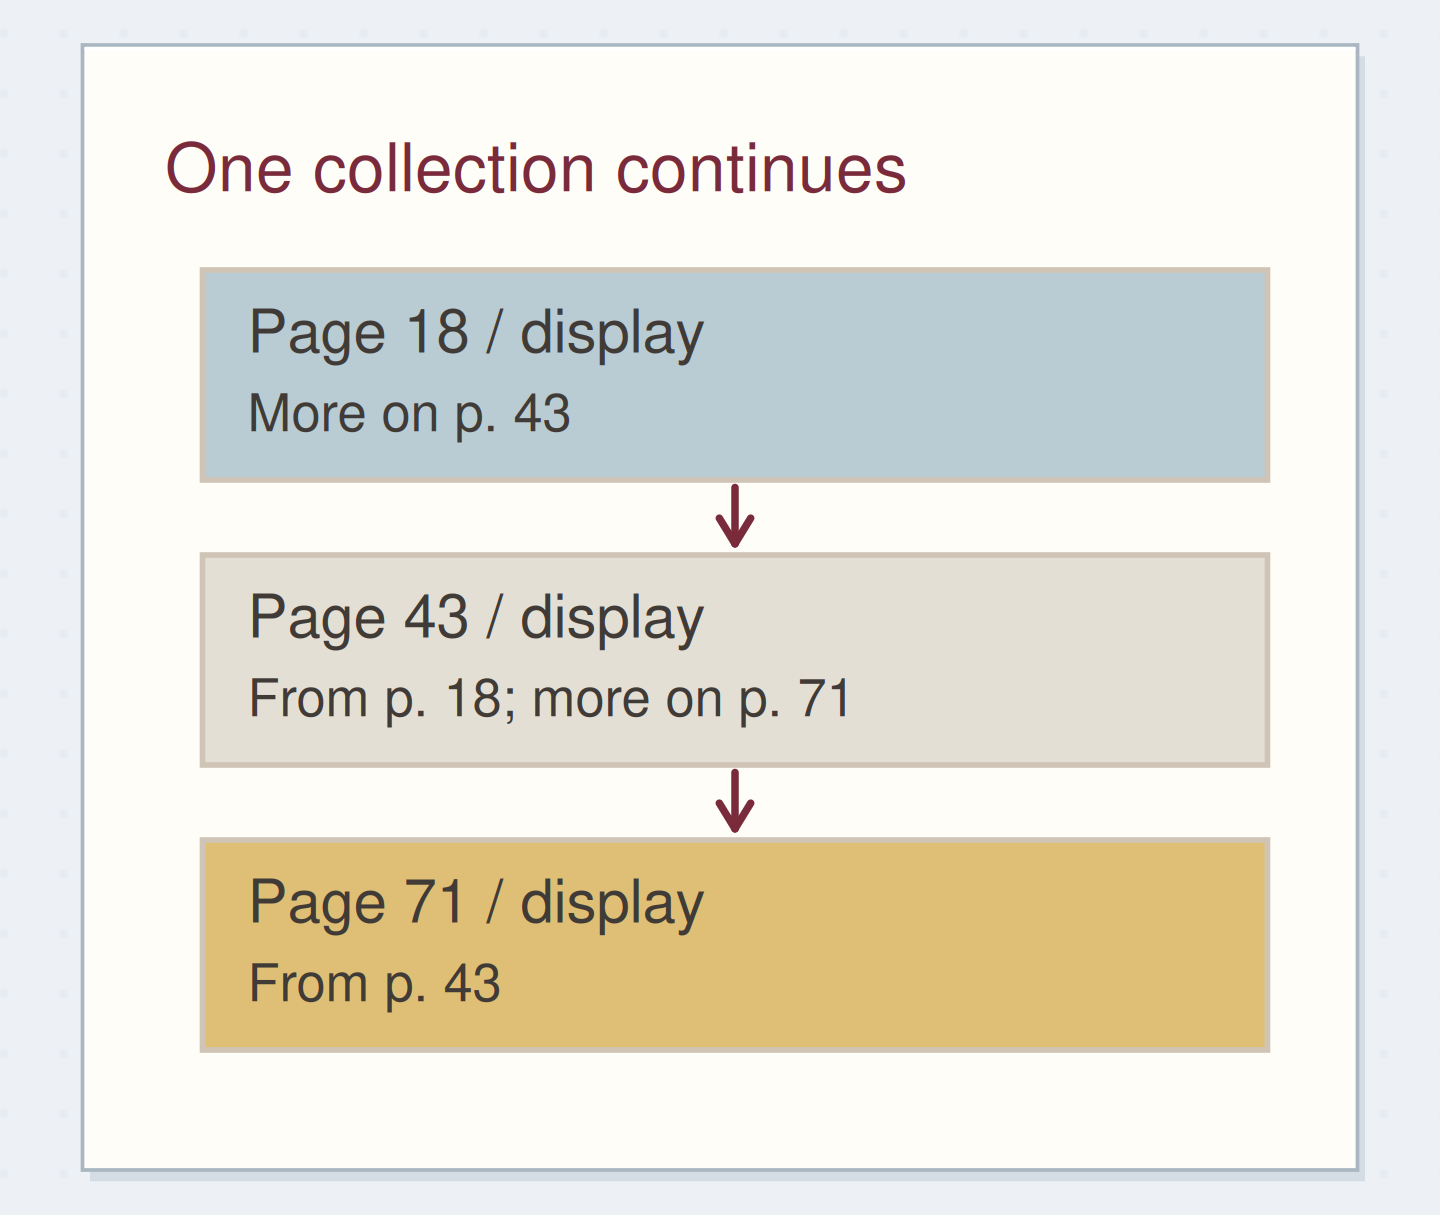
Start the continuation on page 43 and give it the same clear project title as page 18. Near its page number, write “from p. 18.” Return to page 18 and add “more on p. 43.” The two references perform different jobs: one resumes the collection, while the other lets you recover its earlier context.
Use words for the first pair so you will not need to remember which side of a compact symbol means previous or next. You can shorten the notation after you have used it. Keep the reference out of the main writing block, but comfortably inside the edge of the page.
Write the two ends of a thread
Edit the worked example into a note you can use.
Old page:18
Continuation:43
Return note:From p. 18
Your words have a place now.
Write the destination on the old page only after the continuation exists.
- Words on this card
- 10
Try a three-page project trail
On page 18, imagine you recorded the display's purpose and measured the wall. Page 43 contains the caption draft. Page 71 holds the printing check. The foot of page 18 points to 43; page 43 points back to 18 and forward to 71; page 71 points back to 43.
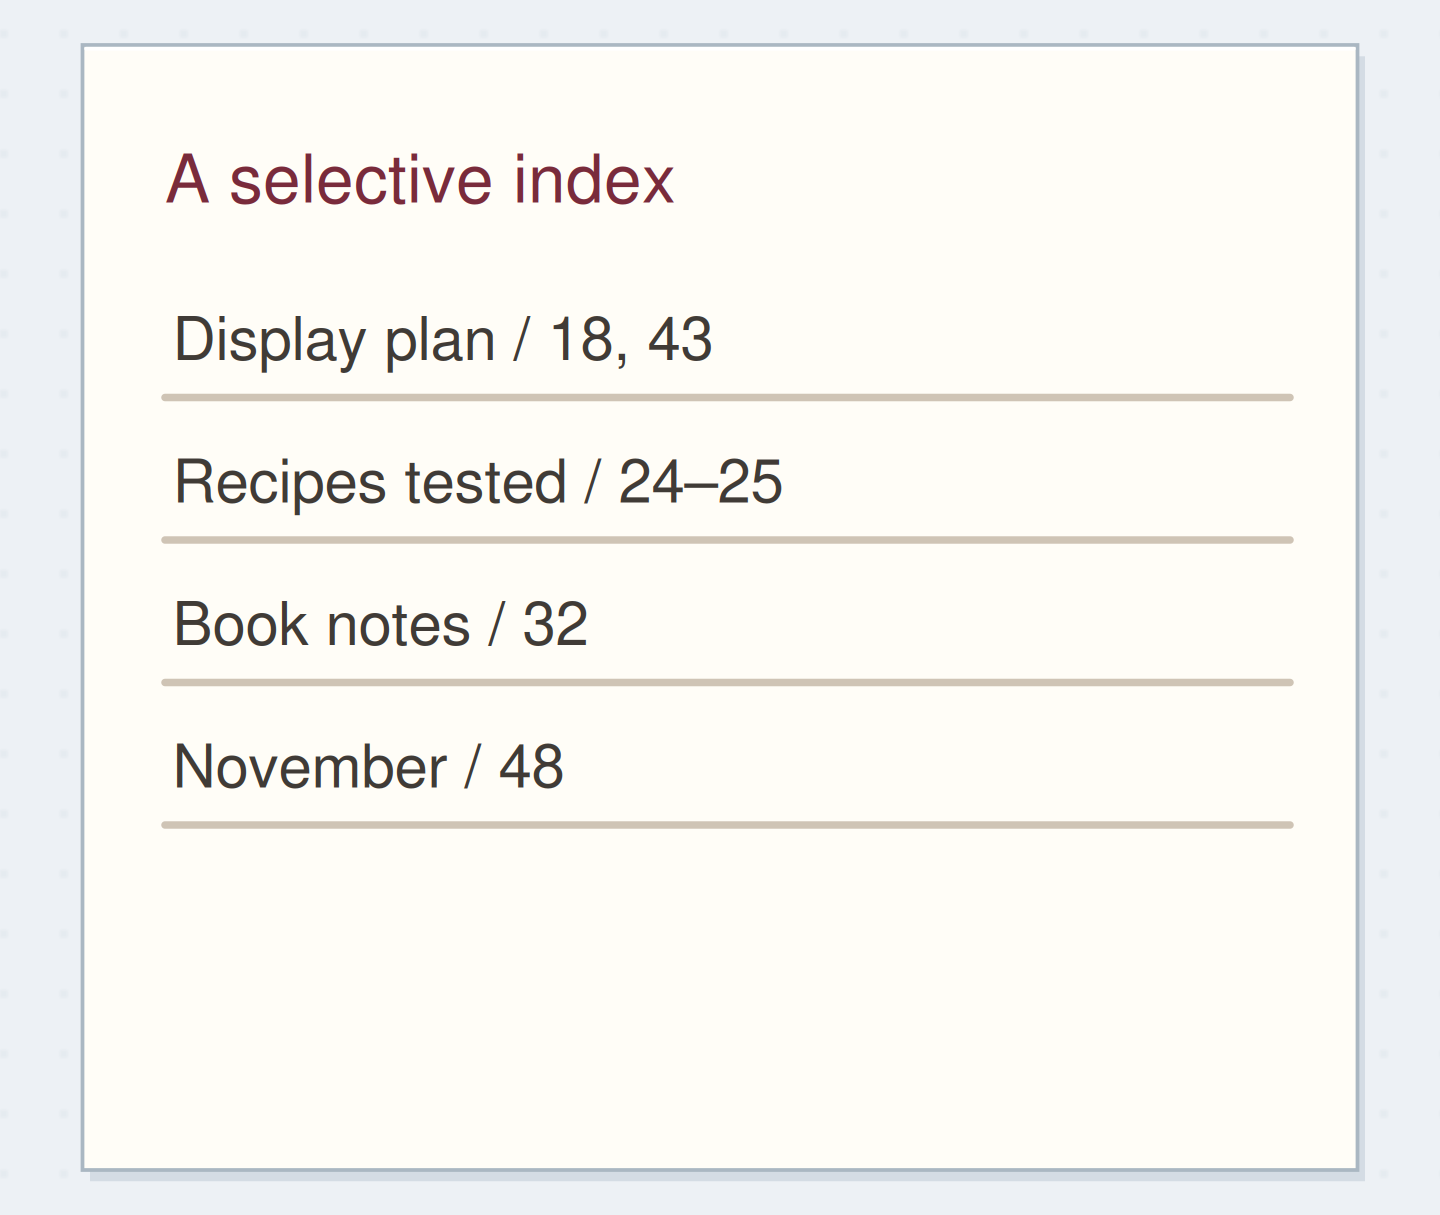
Your main index can say “Photo display: 18, 43, 71,” or it can point to page 18 if you prefer to follow the trail from its start. If you usually want the most recent decision, also add “latest: 71” to the project entry. That is a retrieval choice, not a different numbering system.
Fix one link without rebuilding the chain
Suppose page 43 accidentally says “more on p. 17.” Cross out only the wrong destination, write 71 clearly, and then visit page 71 to check its return reference. If the original page is crowded, add a small note beside the project title explaining where the corrected reference sits.
When you discover an unlinked page later, decide whether it continues the main narrative or is supporting material. You can add “printing notes p. 58” as a side reference rather than inserting page 58 into the chronological trail. A thread can remain simple even when the project has a few useful branches.
Include the book when the page number is not enough
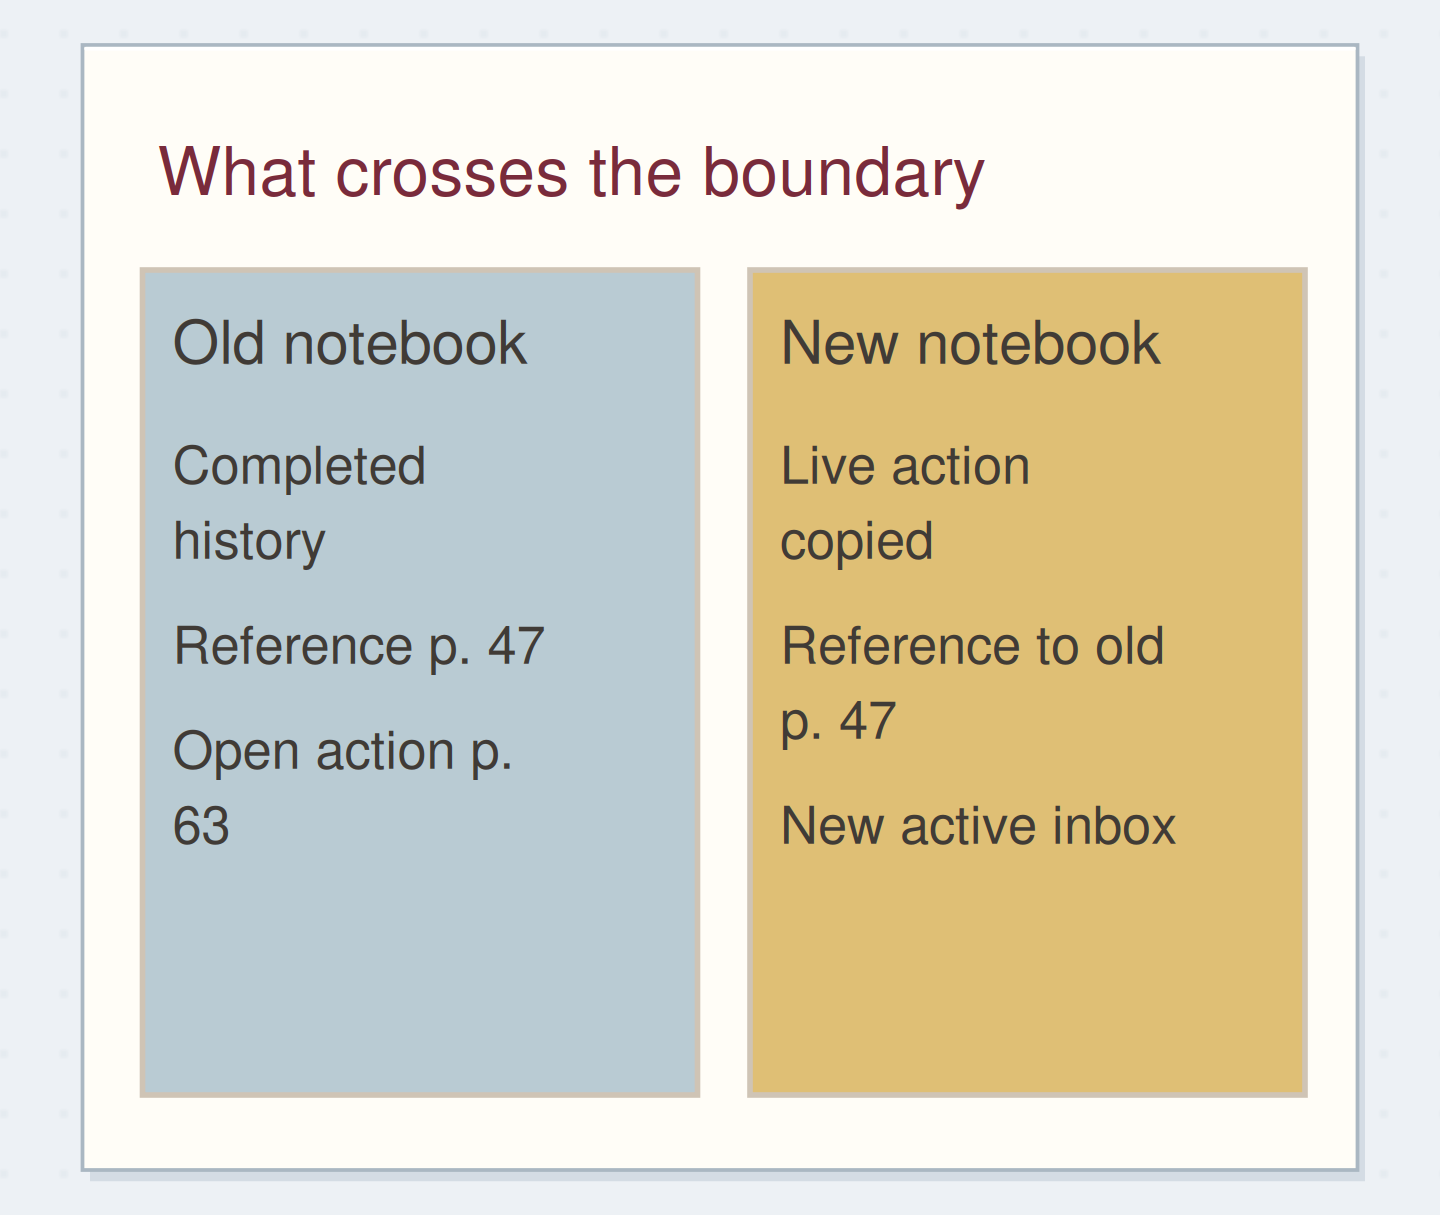
If the project continues in another notebook, give each book a short stable identifier, such as Blue-1 and Blue-2. Write “more in Blue-2, p. 9” at the end of the old collection and “from Blue-1, p. 71” at the start of the new one. Add the identifier to the cover or first page.
Do not rely on “old notebook” when several books may eventually fit that description. You also do not need to copy the completed history into the new book. Bring forward only the context you need for current work and leave a clear route to the fuller record.
Make a page reference survive a new book
Move the reveal control to inspect the specific change.
An ambiguous address
“New book” changes its meaning over time.
Finish with a short retrieval test
Close the notebook, open the index, and find the display project. Follow the forward references to the latest page, then use the return reference to go back one stage. If you hesitate because two different numbers compete, simplify the notation while you still remember what you meant.
You are finished when the next part and the previous part can both be found. Stop adding links to every nearby note. A good thread gives a continuing collection a route through the notebook without dictating where you must write next.
Check a continuation before closing it
Move the steps so the necessary checks happen before the actions that depend on them.
One workable order
- Create and number the new pageA destination needs to exist before you can reference it.
- Add the forward and return referencesBoth ends should describe the same pair of pages.
- Follow the trail from the indexThe retrieval test checks the addresses you just wrote.
Which check needs to come first?
The example shows one workable order. Other steps can move freely; these checks protect the information you need.
Where this idea began
Want to follow the idea further? These community discussions and maker references are a good place to start.
- Keeping Organized
Readers discuss retrieving mixed meeting notes without predicting how many pages each topic will need.
- Threading
The official threading tutorial links separated collection pages through their page numbers.